Tuesday, January 31, 2012

I'm Guest Posting!

Check out my guest post at Savannah and Casey's blog, OH SO PRETTY: the diaries! Leave them some love, or better yet- you could follow them! Hope you all had a great Tuesday!

P.S. Since today is January 1st, I feel compelled to share that we completed one project off of our 12 projects for 12 months list: we "frosted" the windows in the guest bath! Stay tuned for that tutorial!

P.P.S. Since tomorrow is February, I have made a burlap wreath perfectly fitting for the month of love! Stay tuned for THAT tutorial too!


Monday, January 30, 2012

[Semi] Homemade Salsa

Oh. My. Yum.

I haven't been a fan of salsa (as you know, I'm picky) until about 6 months ago. Really. Yes, I live in Texas AND I'm 50% Hispanic, so you'd think it would just come in my genes and my blood. Nope. Tomato chunks? Yikes... Spicy? Nah...

Upon browsing Pinterest, I came across this quick and easy salsa recipe [see link below]. I'm all for quick and easy and now that I do in fact like salsa, I decided to try it!

Go here to see the recipe I used: I didn't modify it or anything, it is that yummy! But I did remove the seeds to the jalapeno... I'm not that much of a tough chick!

Here's my version, all pretty and ready to be devoured served.


Needless to say, we are having fajita tacos for dinner to join with this salsa. Yum yum yum!

Do you have any go-to salsa recipes? Do you buy store bought (like we used to until NOW)?

Sunday, January 29, 2012

Song for Sunday

[if you haven't noticed, I am posting some of my favorite worship song lyrics each Sunday: we had a wonderful time of worship and fellowship at church this morning, I hope you did as well. If not at a church, maybe within your own family, praising and worshiping God, giving Him all the glory for the things in your life!]


[not a music video, but it does have the song recording]

Create in me a clean heart, a clean heart
For I have turned my face from You
Teach us of Your ways oh God, oh God
For we have turned away from You
Lord have mercy

We will run to you, we will run to you
Turning from our sin we return to You
Father heal your world, make all things new
Make all things new


Your love and mercy build and shape us
Break us and recreate us now
Lord have mercy

Oh, bring us back to you


-"We Will Run" by Gungor


Happy Sunday


Saturday, January 28, 2012

Photo a Day: Week Four

Here are this week's photos: remember, we are taking one picture for each day of the year. Hopefully by the end, we will have 365, but we'll see! Join us in the comment section by leaving the link for your blog post with your photos. It doesn't have to be a picture of EVERY day, so no worries on that either! And of course, we're no pros here: these are all camera photos (because I'm L-A-Z-Y like that)!


Everyday with the Jays
[grab this button on my sidebar --->]

[last Saturday]: Nate's parents came in town! Chloe loves to cuddle with her PawPaw!

[Sunday]: Yet again, Chloe loves to help with lesson plans. She really wants my bag of goldfish, however!

[Monday]: My sweetie rented this for us because he knew I wanted to see it! What a lovely date night at home :) Not what I thought it would be, but definitely good!

[Tuesday]: I left school early due to major stomach pains (no worries, I am N-O-T pregnant) and Nate made me soup for dinner that night AND I got to eat it in bed! Chloe was really excited and wanted to lick the bottom of the bowl so bad. Haha she is so pathetic- but precious.

[Wednesday]: Cheers (with fudgesicles)!

[Thursday]: The 100th day of school! My class was assigned to create a shirt at home with 100 things on it. Any 100 things! I made one too: my name has 10 letters in it (if you include the "Mrs"), so I painted some letter stamps and put it on this simple shirt from Walmart 10 times. 100 letters!

[Friday]: Happy birthday to my brother! We ate at this amazing restaurant called Buca di Beppo (family style Italian) and we ordered this amazing lasagna (look how big it is compared to my brother's hand!), along with lots of other delicious foods! We had our rehearsal dinner here as well in 2009.

How was your week? Let's see it in photos!

Friday, January 27, 2012

Guest Post: Savannah & Casey from OH SO PRETTY: the diaries

I am so excited to have Savannah and Casey from OH SO PRETTY: the diaries guest posting for me today! I grew up with Savannah in North Texas (and we even went to college/were "sorority sisters" together) and Casey is a friend of hers. They live in Nashville, isn't that fun? Take it away, girls!

Photobucket
Photobucket
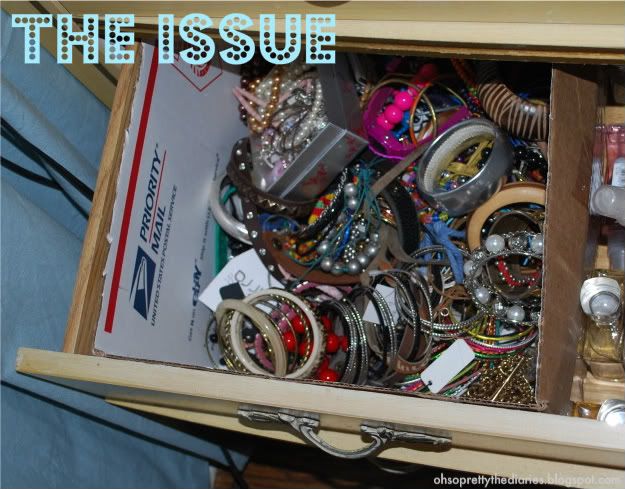
Let me start off by saying, if you are wanting some fancy schmancy bracelet organization, you might as well turn away now. This is a DIY that is resourceful. We might as well call it a "Rig it yourself," an RIY, if you will. My bracelet organization situation was a problem and I needed to find a way to make it functional but, I only wanted to make it happen with things that I already had. That is precisely why I've been waiting for the moment when we had collected enough paper towel rolls. Obviously, that day came today. This whole project only took me about one and a half hours which is pretty good for a project like this, well, in my opinion that is. As you can see, this project is meant to be put in a drawer (because that is the only place I have space to store my bracelets) but you could just as easily keep it on top of a dresser. I took a whole lot of pictures so it'd be more understandable so let's do this thing!
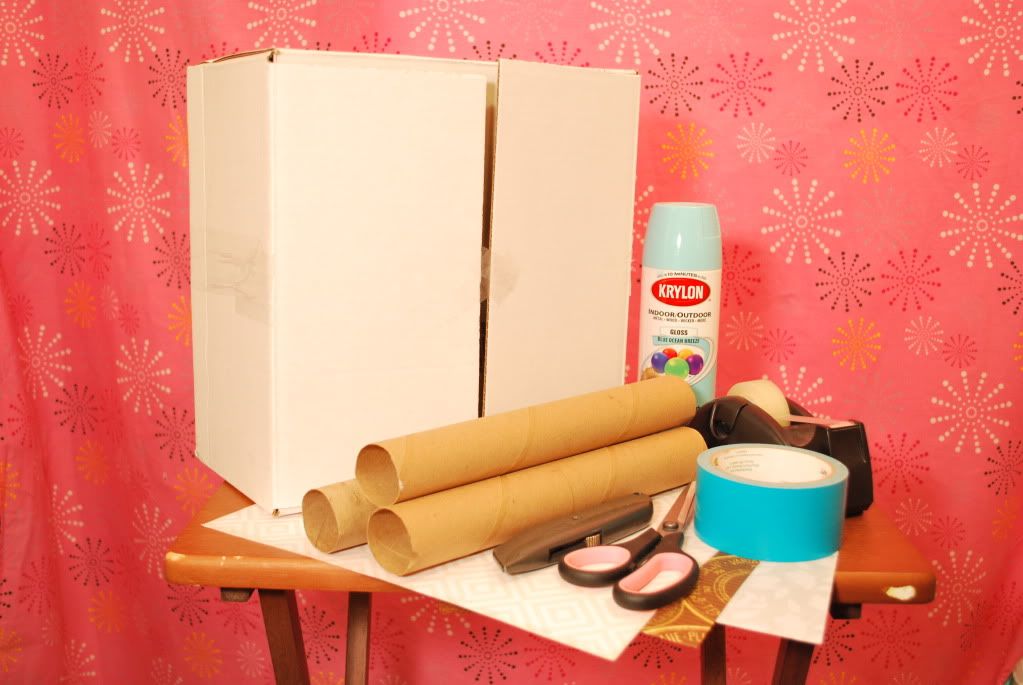
Photobucket
You will need:
- A box (if you are putting it in a drawer you will need to make sure the box will fit inside.)
- 3 empty paper towel rolls
- Spray paint (optional- you could just leave it plain if you wanted.)
-Duct tape
- Scotch tape
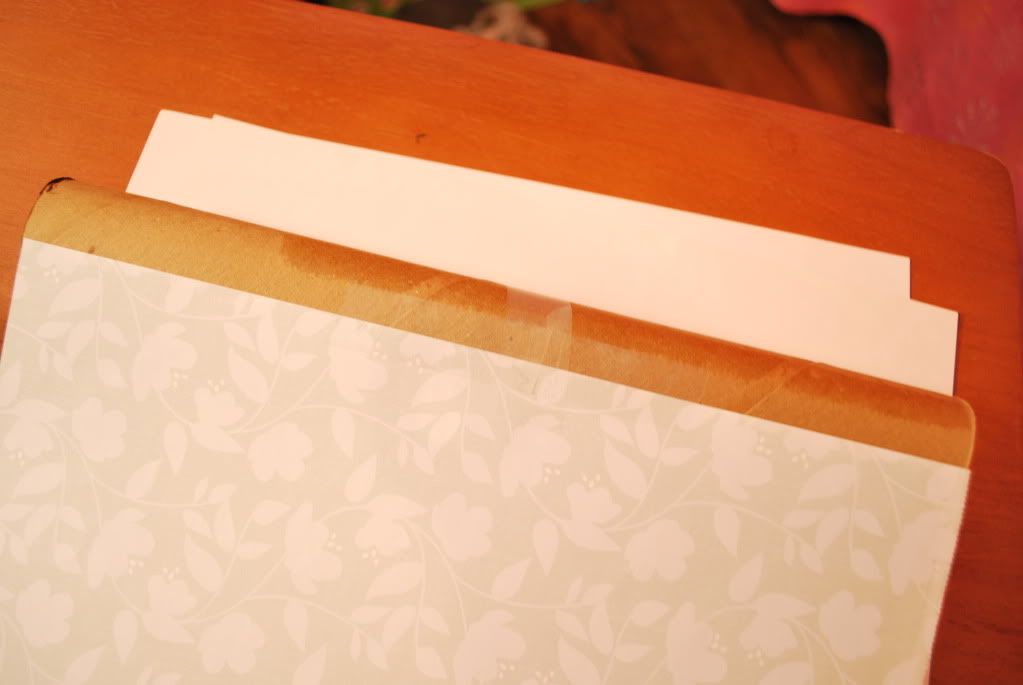
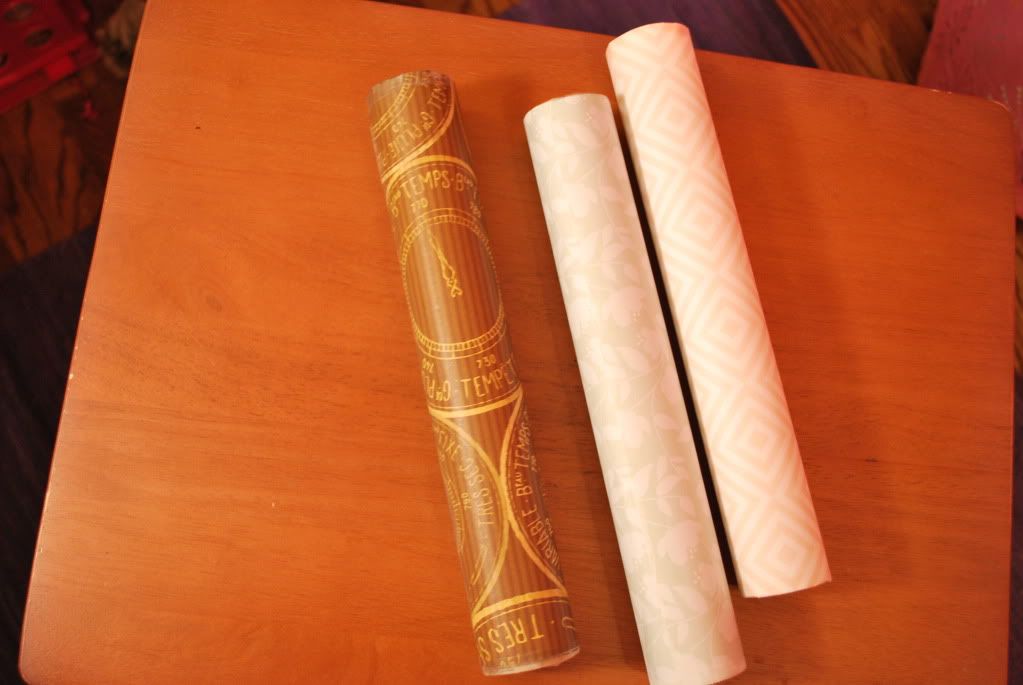
- Scrapbook paper ( I used three different kinds.)
- Scissors
- Box cutter
- Something to write with

Photobucket

Photobucket
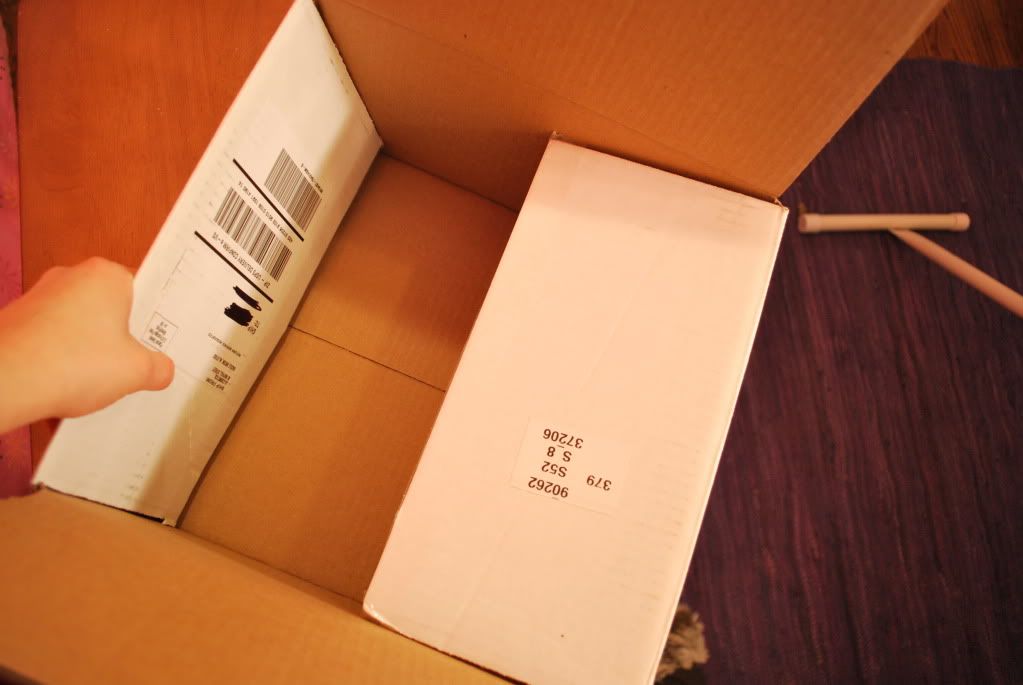
First off, you are just going to push all the flaps down into the box itself.
Push down two sides that are opposite of each other and the push down the other two.

Photobucket
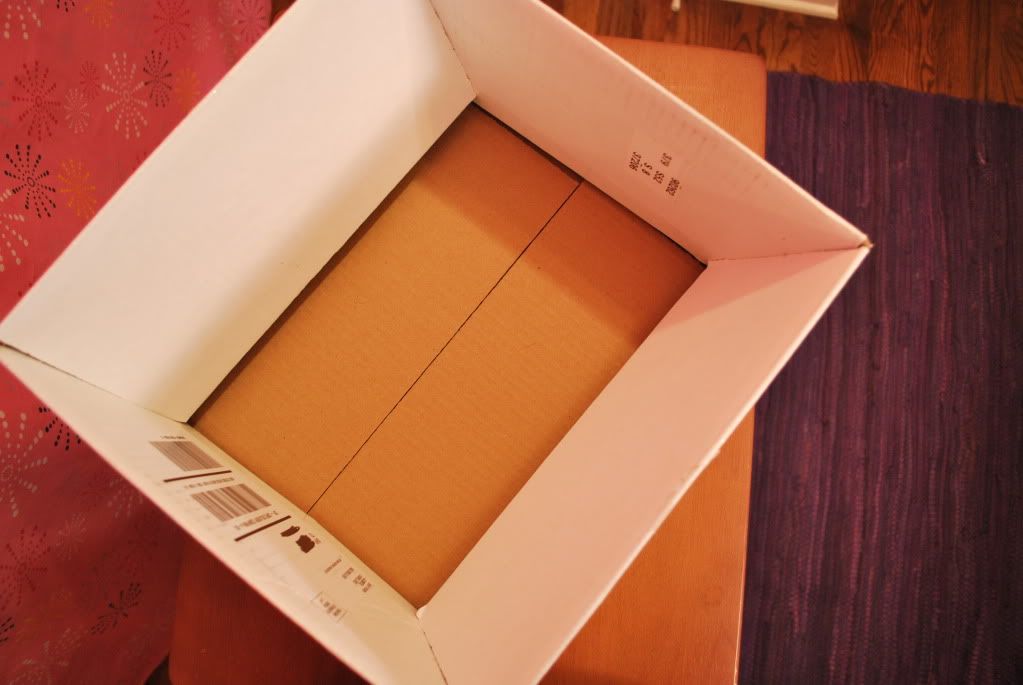
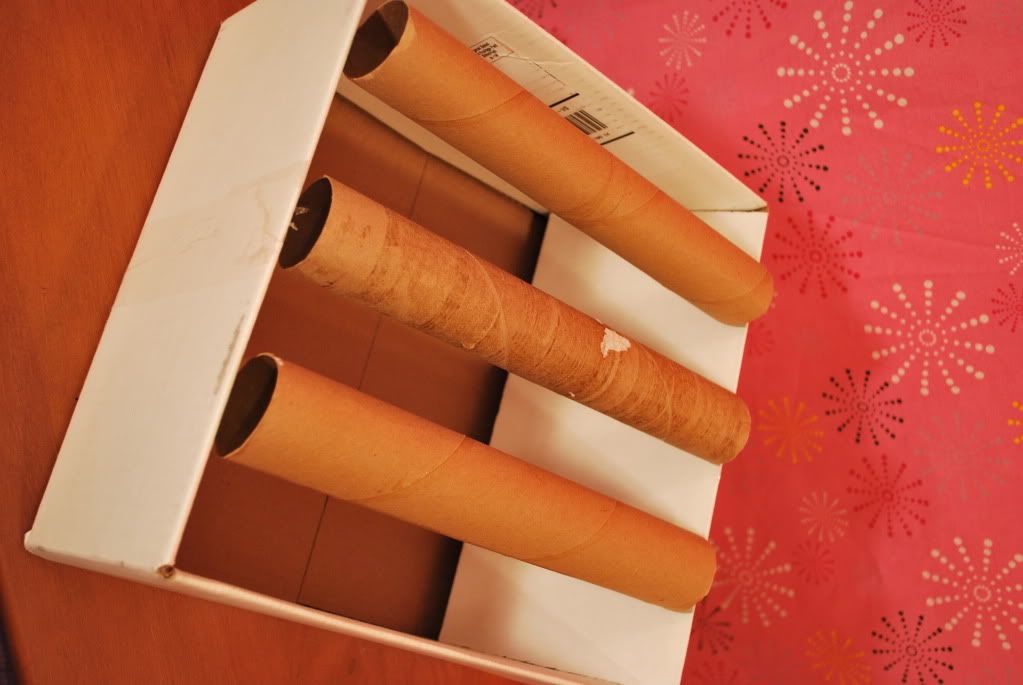
Place the three paper towel rolls evenly in the box.
Make sure you keep enough space between each roll for bracelets to hang comfortably.

Photobucket
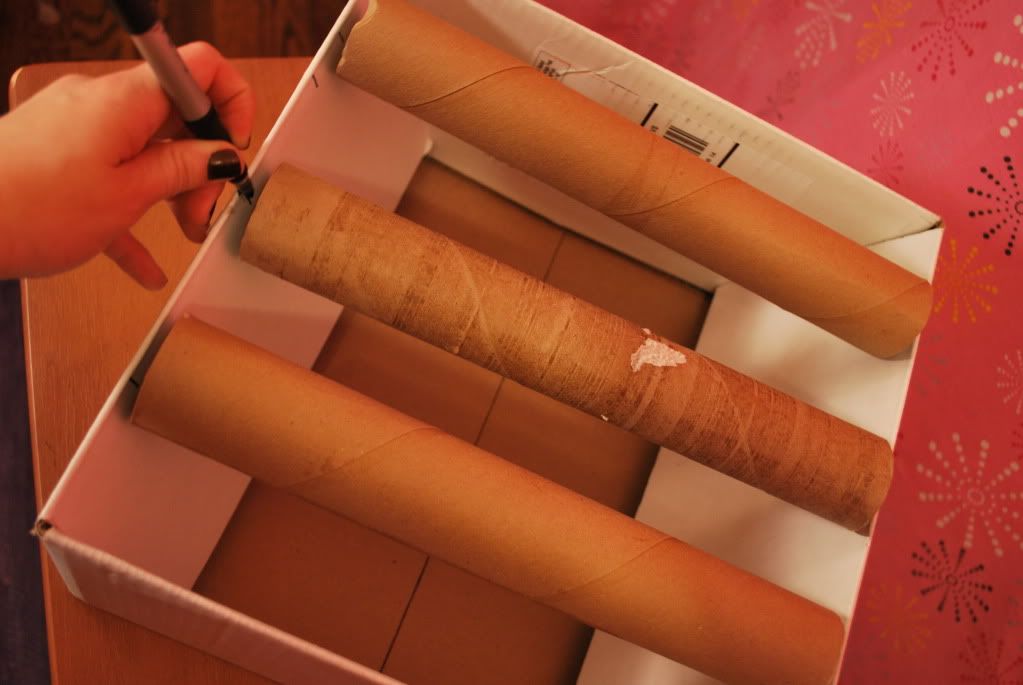
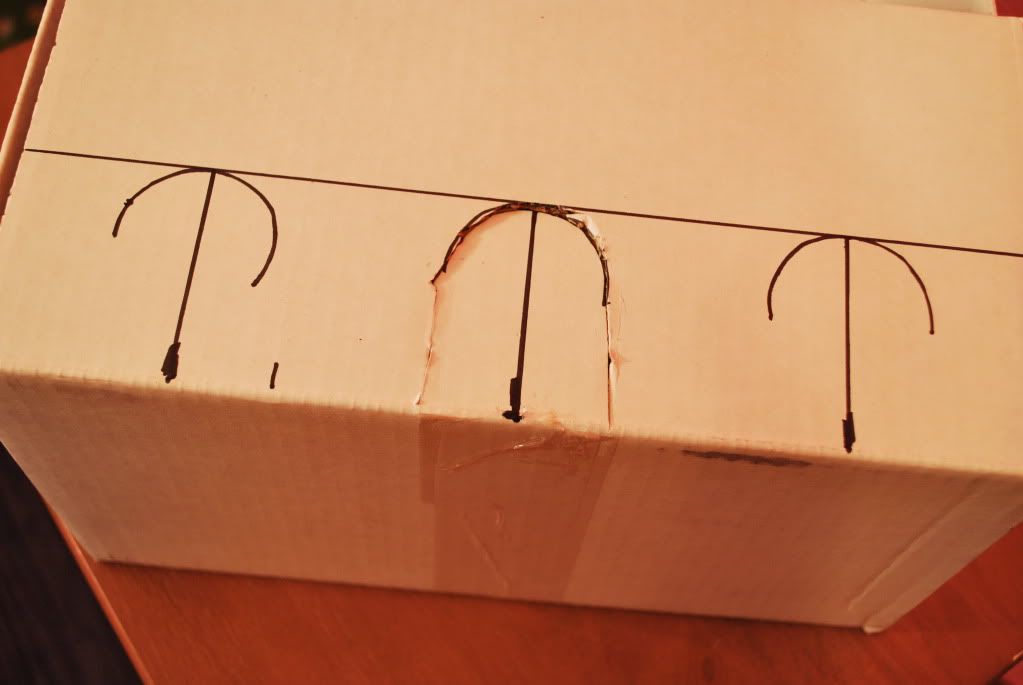
Place a mark on the edge of the box where the center of each roll meets the side.


Photobucket
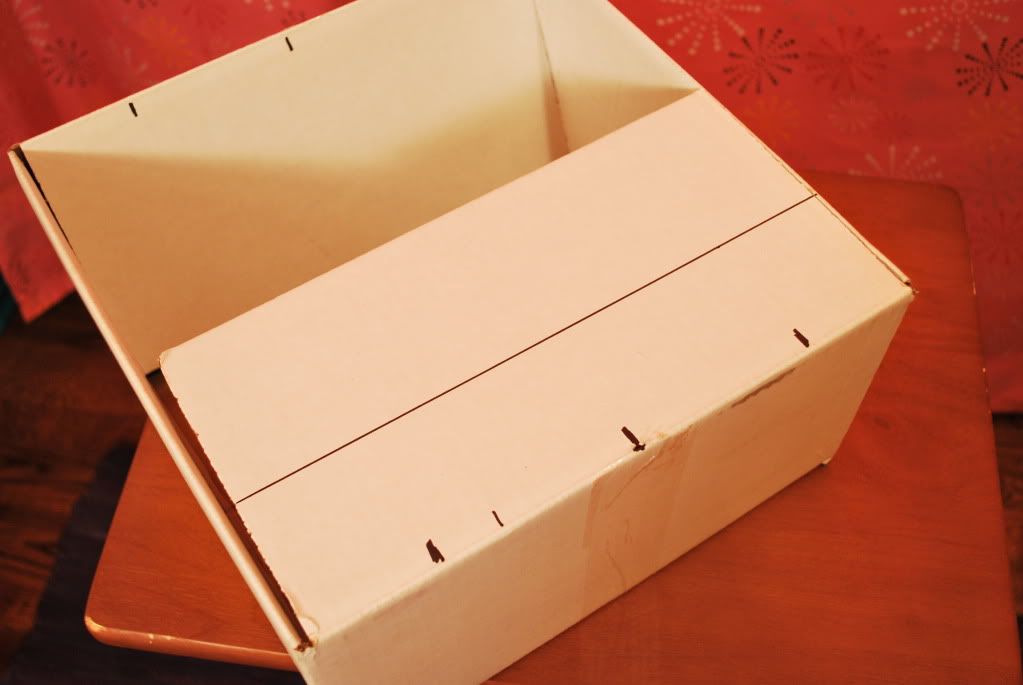
About 1.5" down the edge of the box, draw a line straight across (parallel to the edge.)

Photobucket
Then, draw a line from each mark to the parallel line.
(You can see my mis-mark. No biggie, it'll be spray painted over later.)

Photobucket
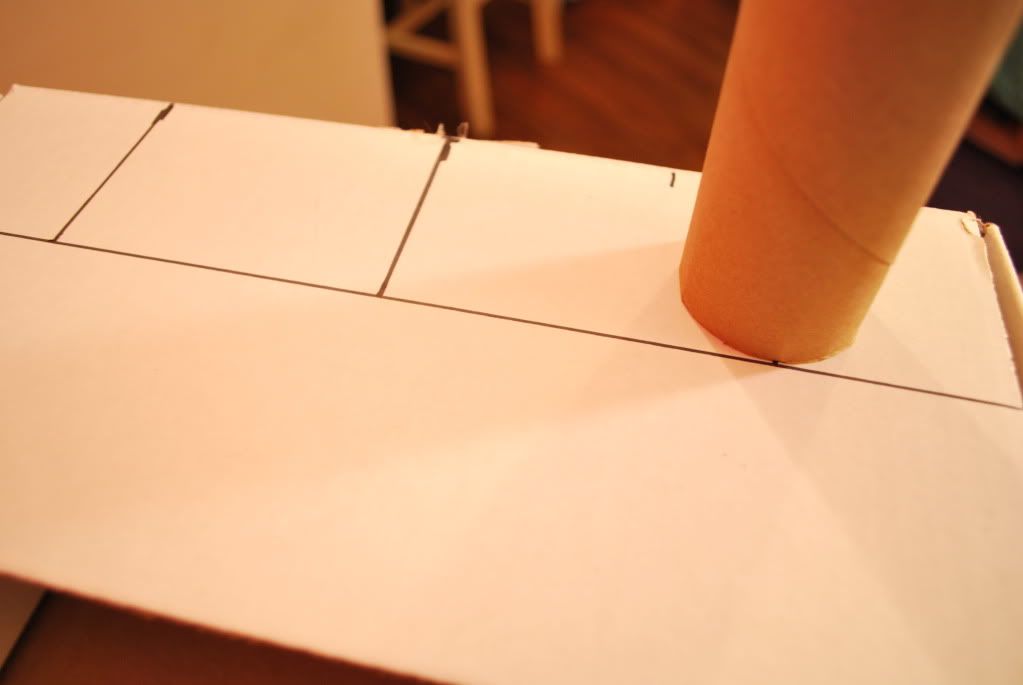
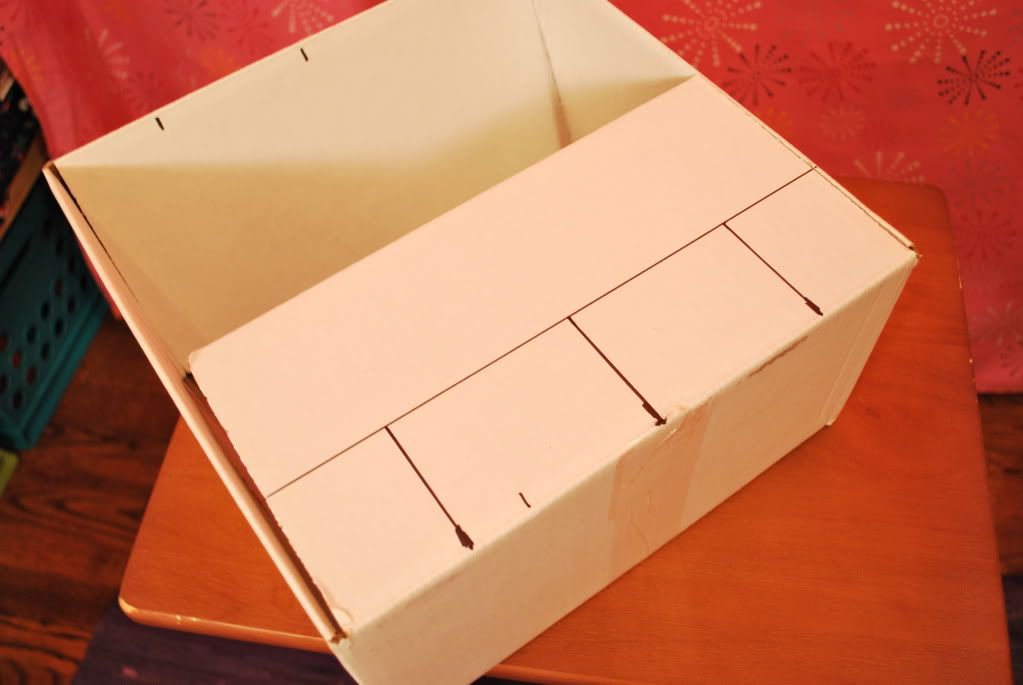
Place the middle of a paper towel roll where the two lines meet and trace
the bottom of the circle. You can trace the whole circle if you want,
it will all be cut out momentarily.

Photobucket
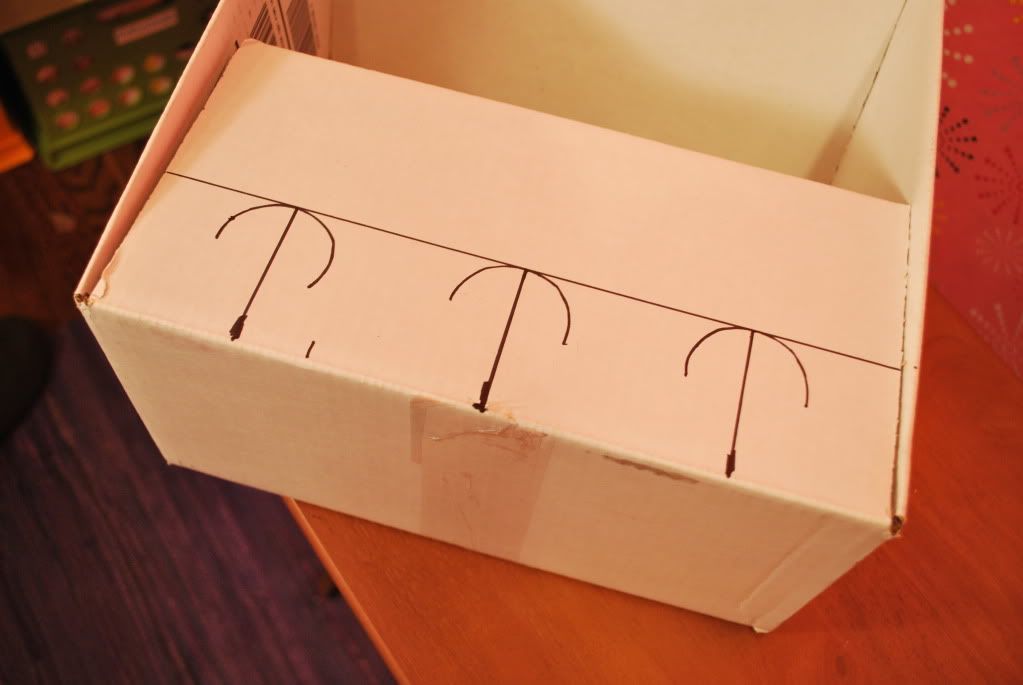
It will look something like this.

Photobucket
Then you will just take a box cutter and cut around the semi-circle shape
and all the way up to the edge of the box.

Photobucket
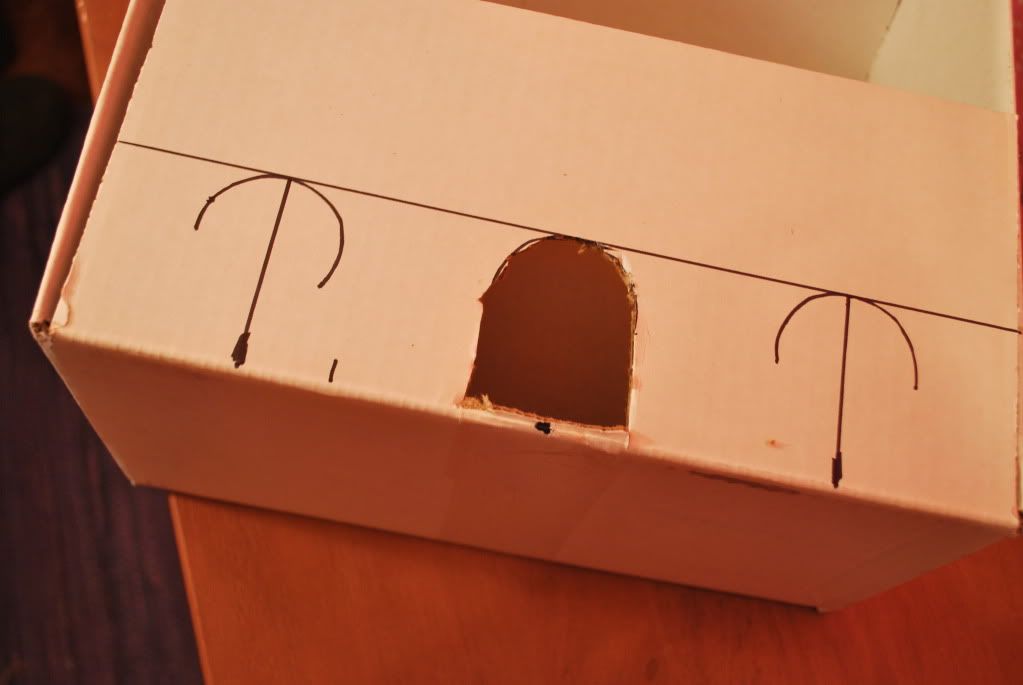
Then cut by the edge and pop out the odd shape.

Photobucket
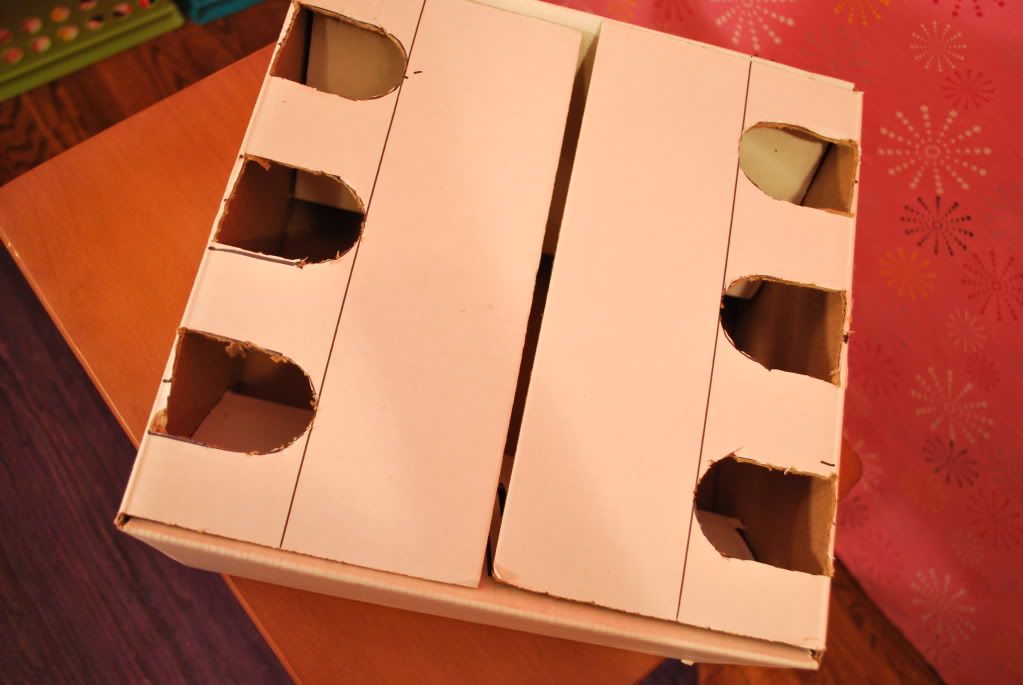
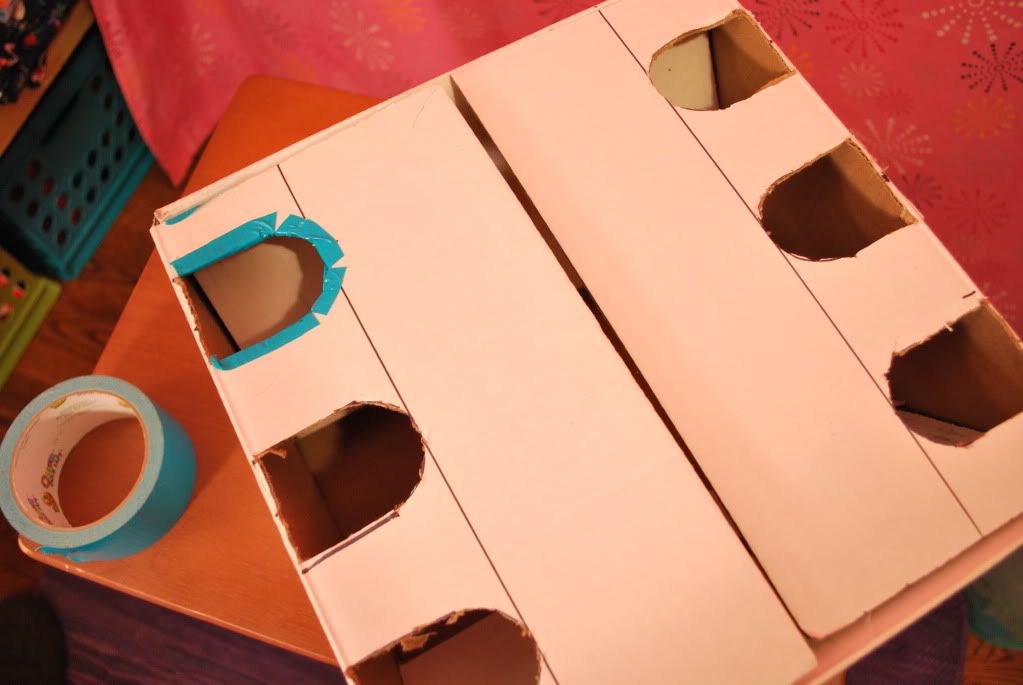
It should look something like this when you finish them all.

Photobucket
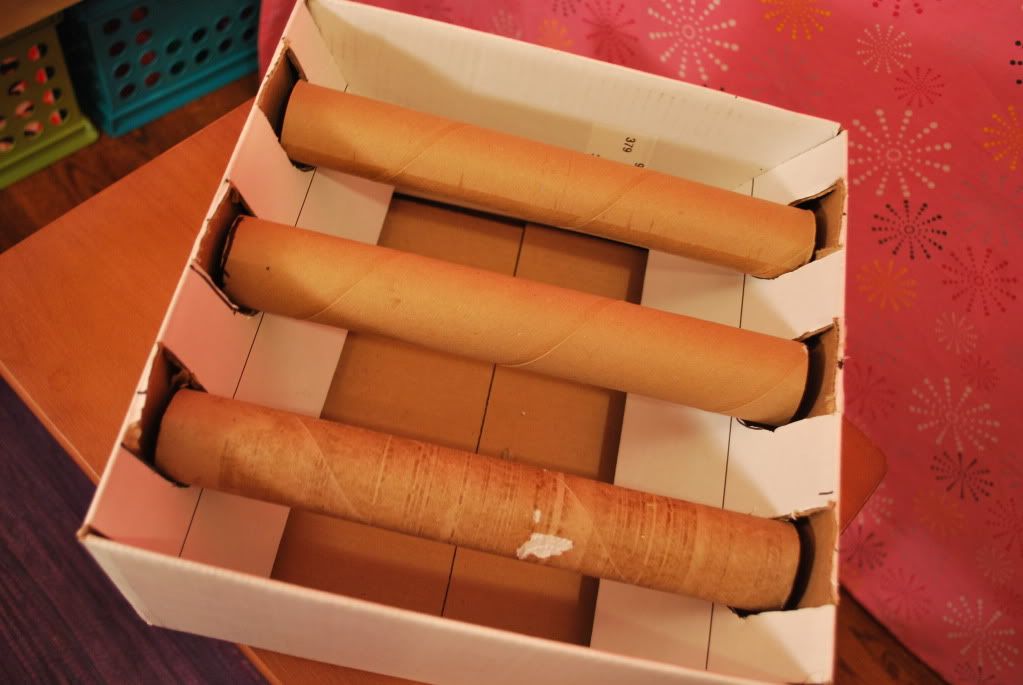
Here, I just placed the paper towel rolls in to make sure they fit. They did...

Photobucket
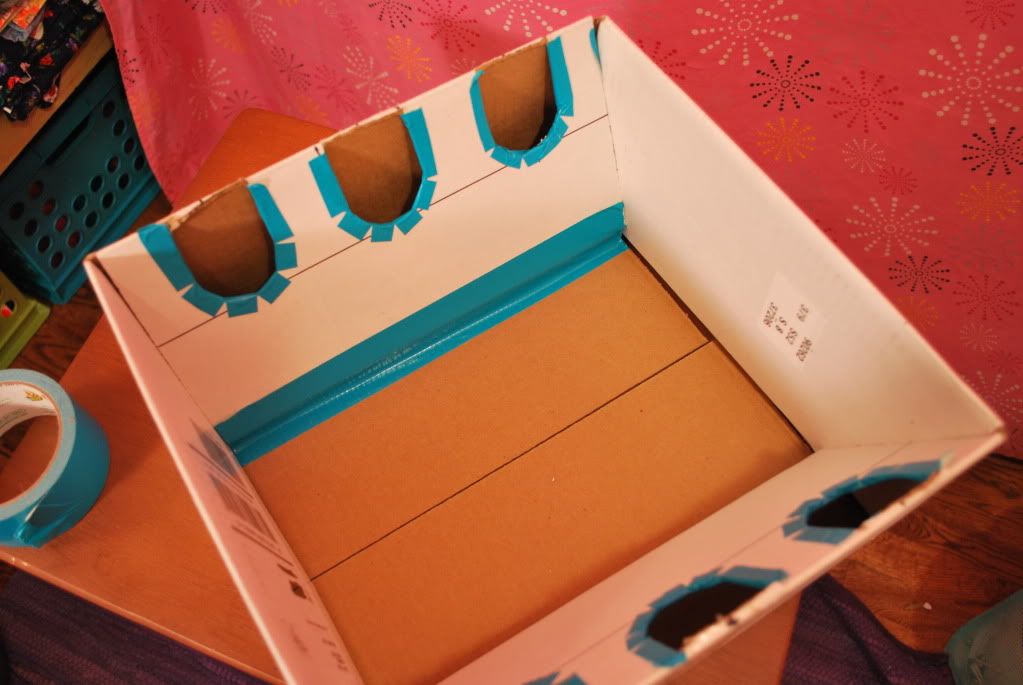
Then I took some duct tape and lined the edges of the holes.
You could skip this step, I just preferred some extra protection.

Photobucket
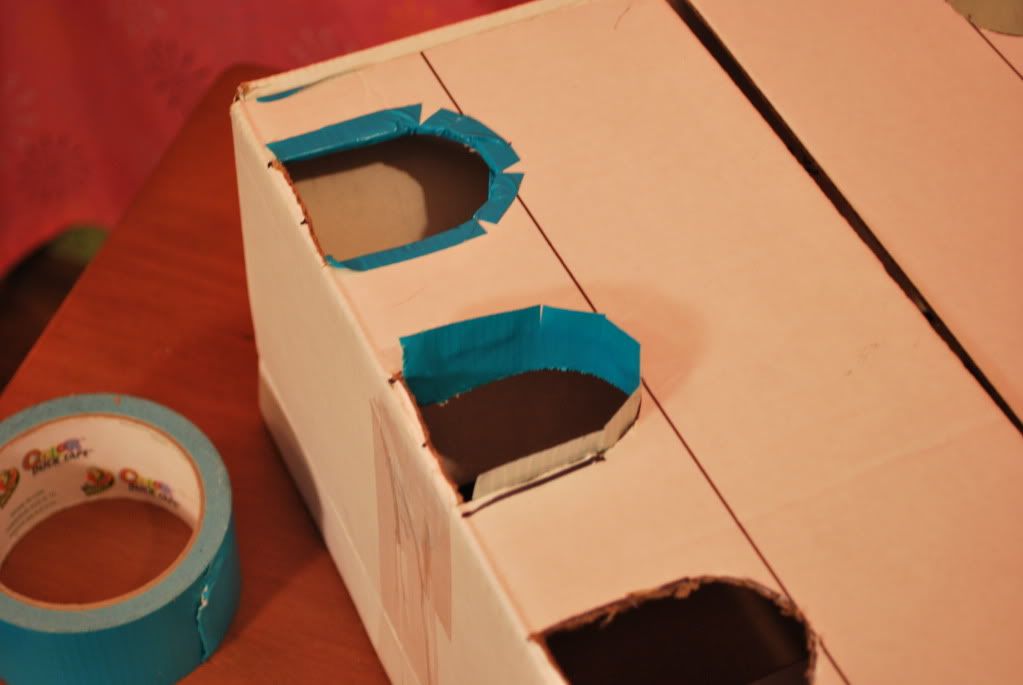
Cut a piece of duct tape and place it around the edge, then cut slits in the duct tape. This makes it possible for you to push the duct tape down without measuring and getting all fancy. This part is kind of hard to explain, which is why I took many pictures!

Photobucket
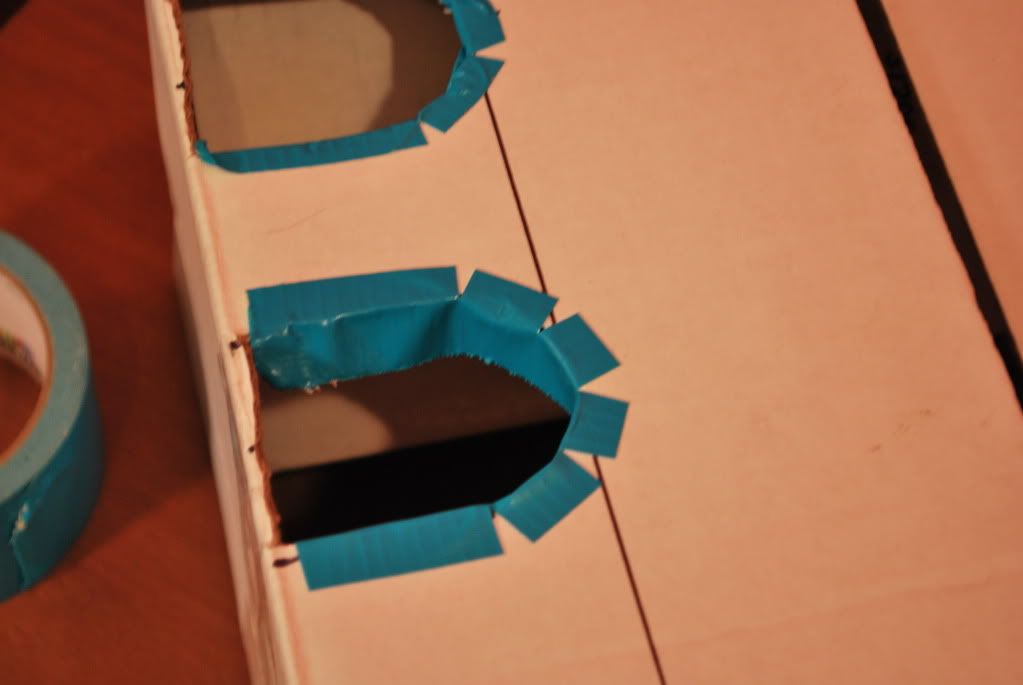
After you push the cut pieces down it looks like this and then you turn the flap over and
do the same thing to the other side.
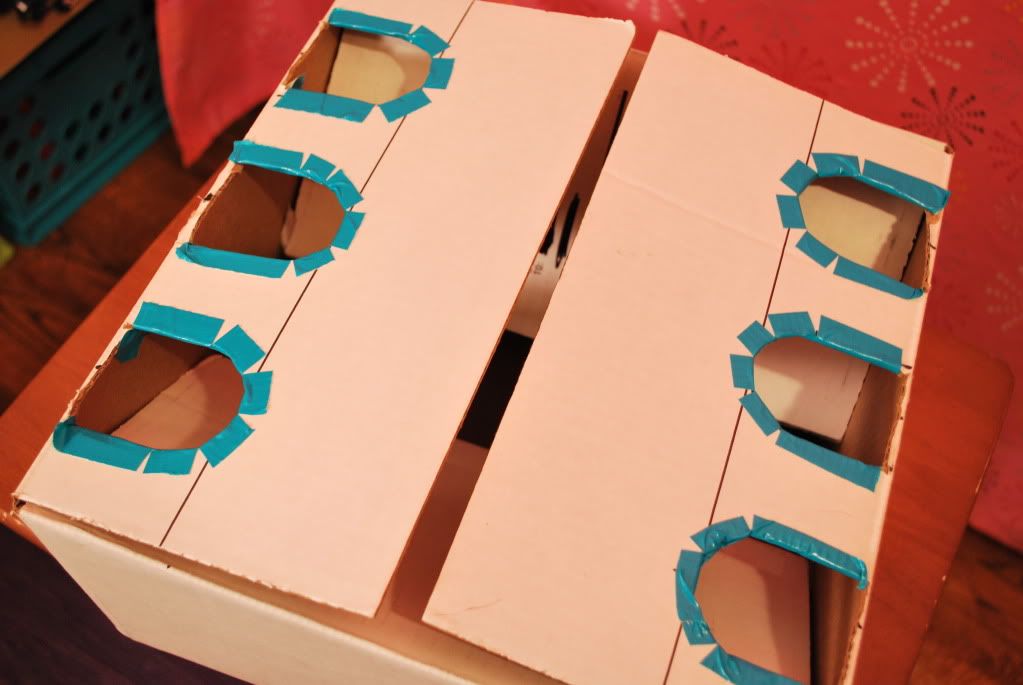
Photobucket
All edges "sealed."

Photobucket
Then push the flaps all down. (The flaps with the holes in them get pushed down last.)
Secure the flap with a piece of duct tape.

Photobucket
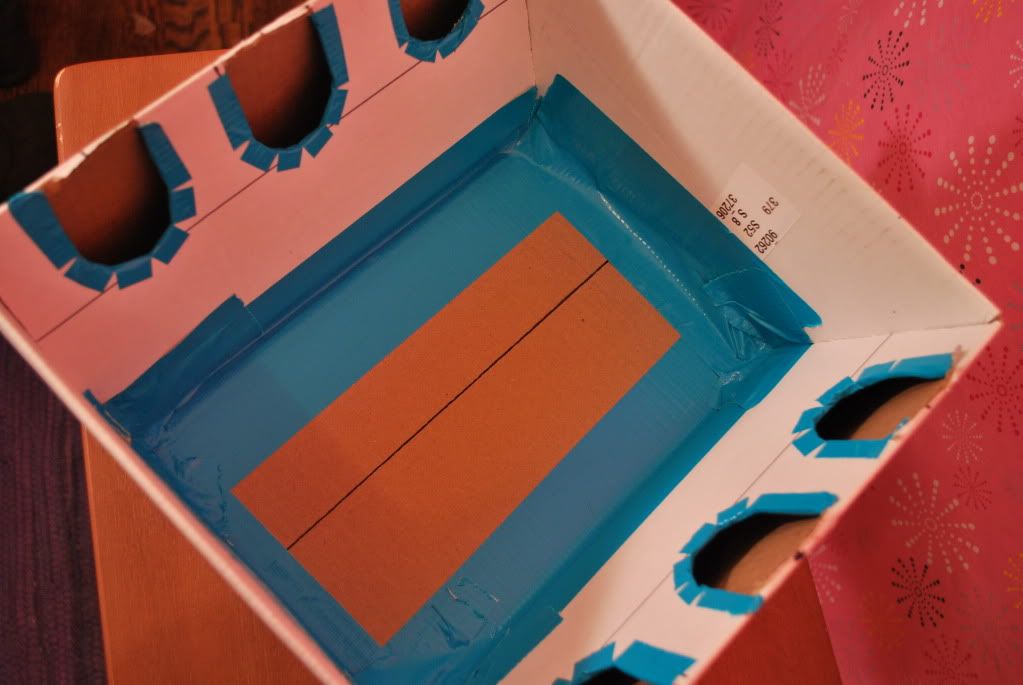
I taped down all of the flaps just to keep those suckers down and out of my way.

Photobucket
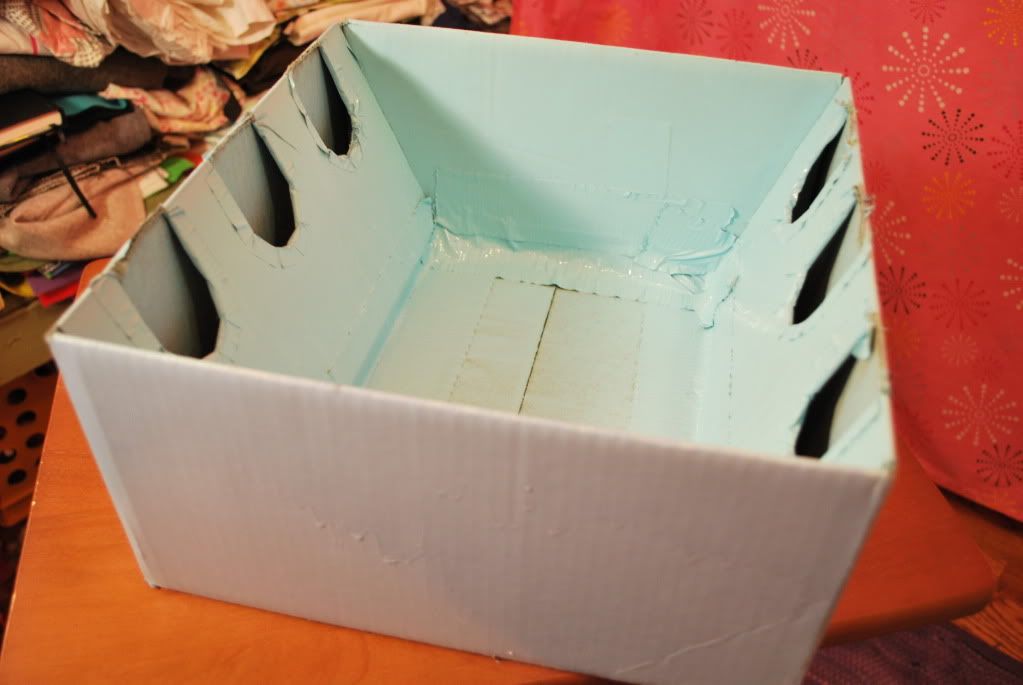
I spray painted the whole box, I painted the inside one shade of blue and ended up painting the outside another shade of blue. You could skip this step, I just liked the little extra detail.

Now that the box is drying, we can move on to the paper towel rolls.

Photobucket
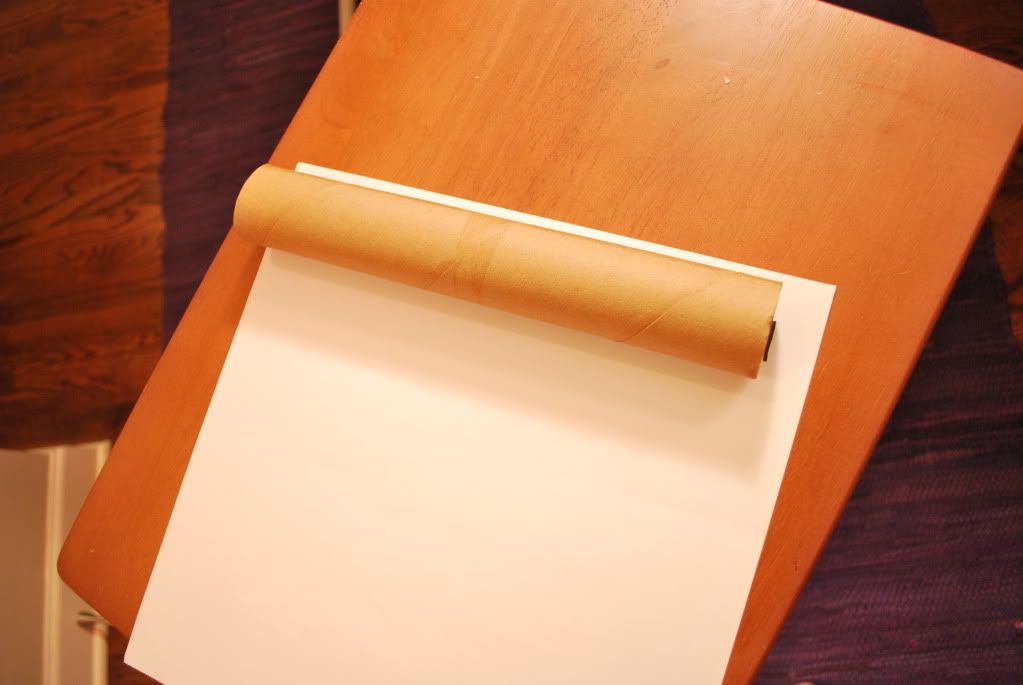
Place the paper towel on the back of a piece of scrapbook paper, right up to the edge.
Mark where the other edge of the roll is on the paper.

Photobucket
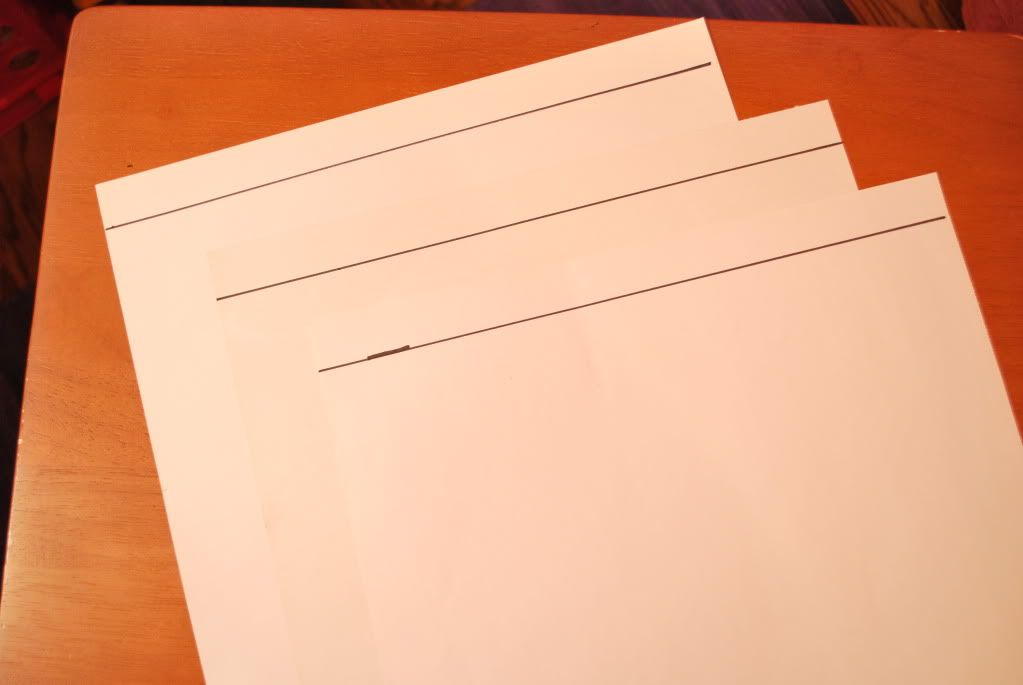
Draw a line all the way across the paper where you placed the mark from the paper towel
roll. I just used the same distance for all the papers.

Photobucket
Scotch tape the scrapbook paper onto one of the paper towel rolls,
making sure it is lined up even on both sides.

Photobucket
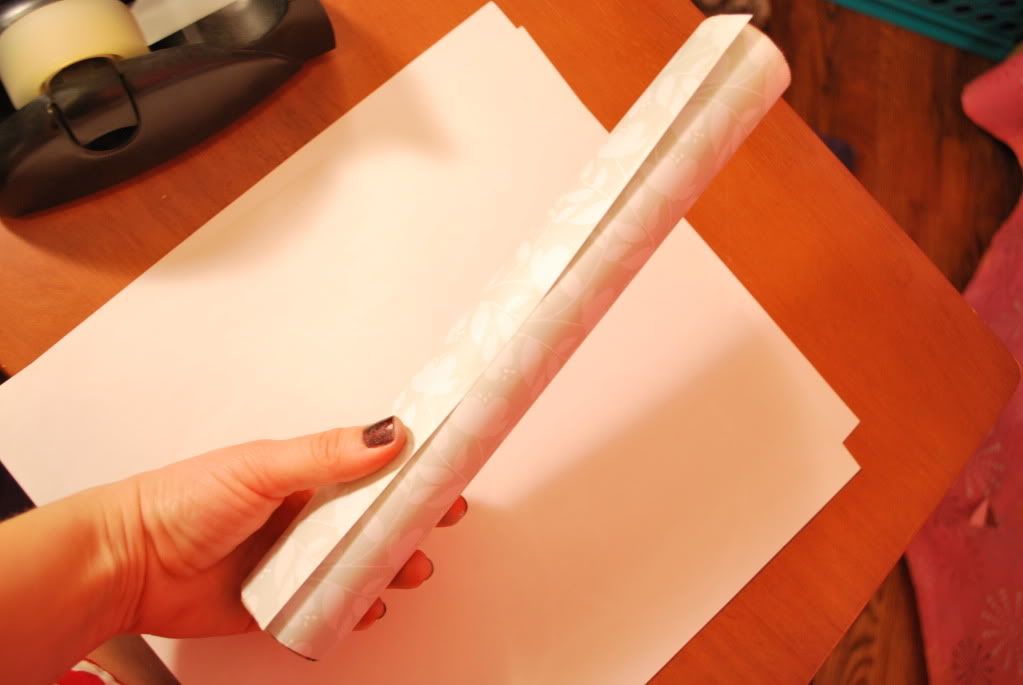
Roll the paper towel roll up in the paper until you reach the edge and tape it down.
Take scotch tape and completely seal the edge of the paper.

Photobucket
They should look something like this when they are done.

Photobucket
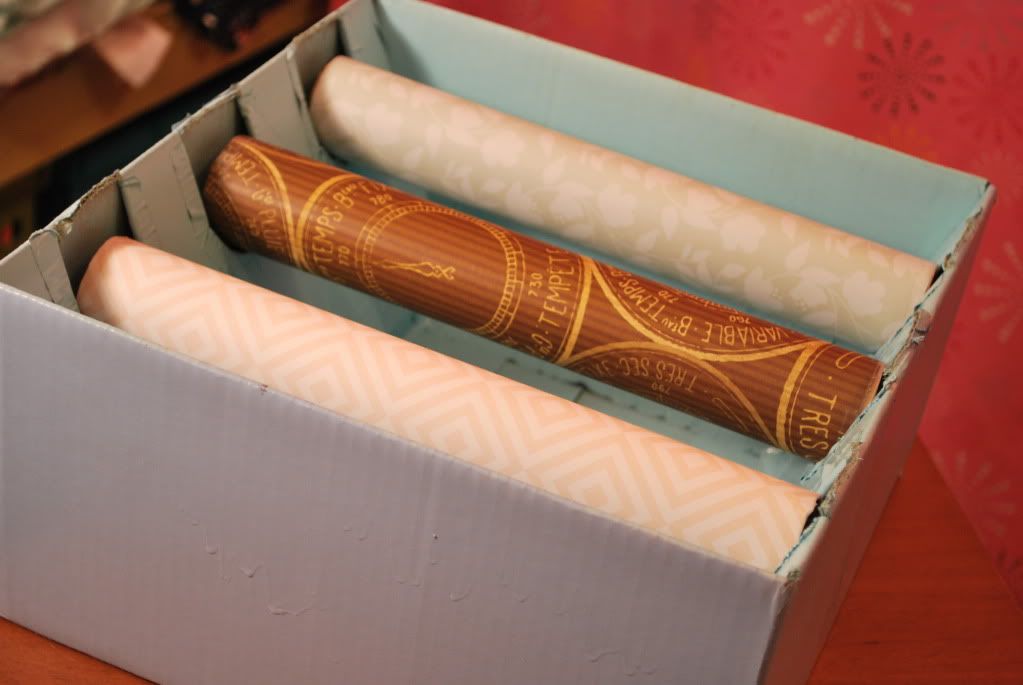
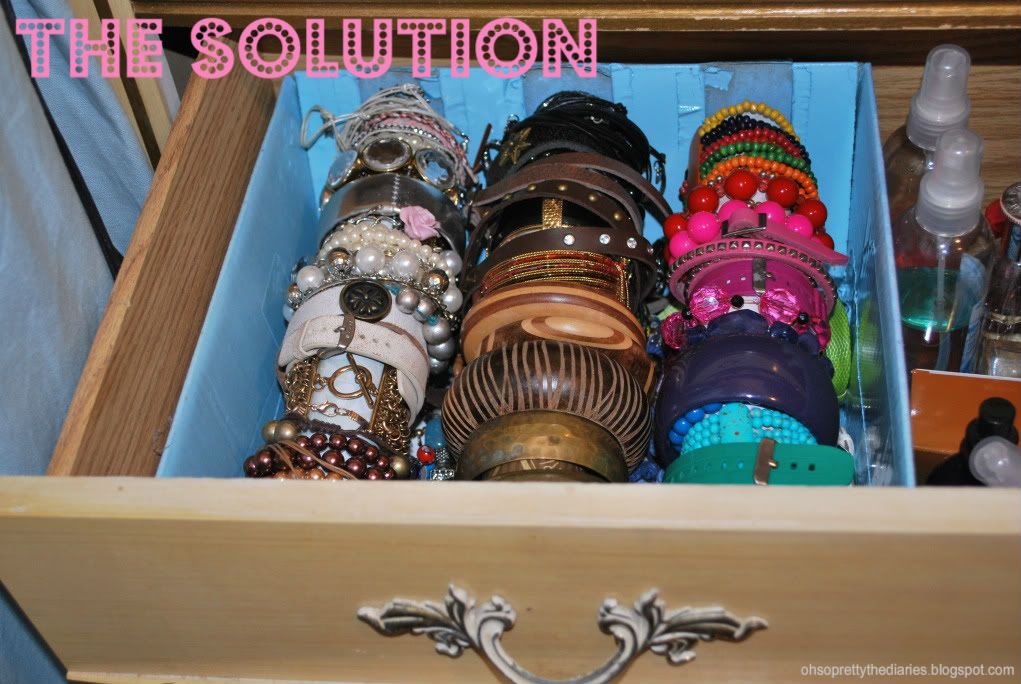
This is basically the finished product without anything in it.

Photobucket
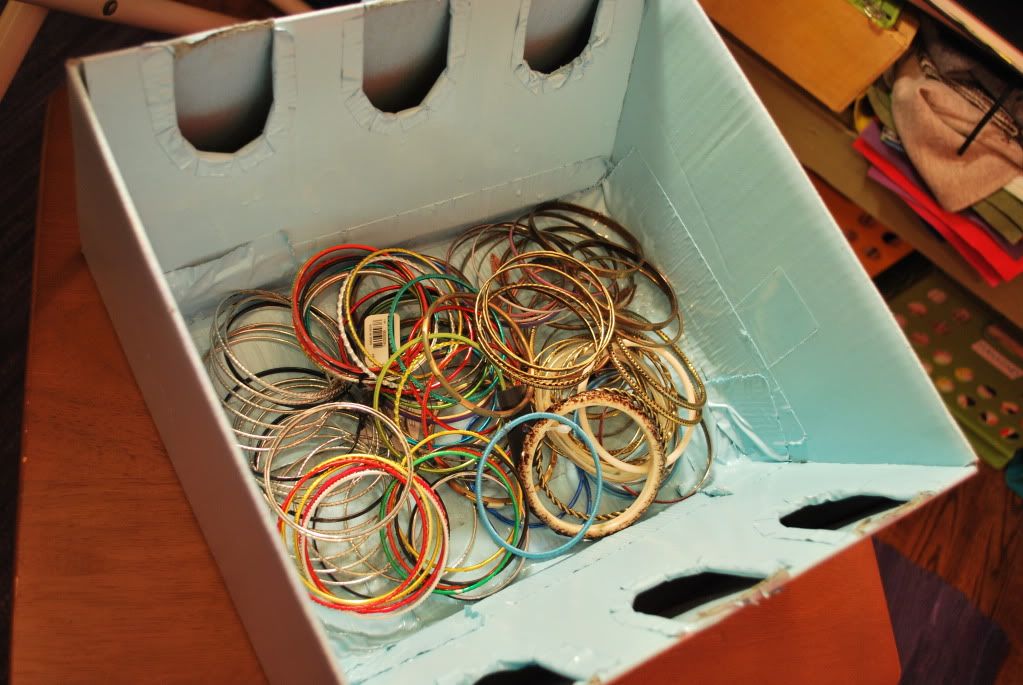
I took a bunch of my skinny bracelets and placed the in the bottom of the box since there
was a little bit of extra space down there.

Photobucket
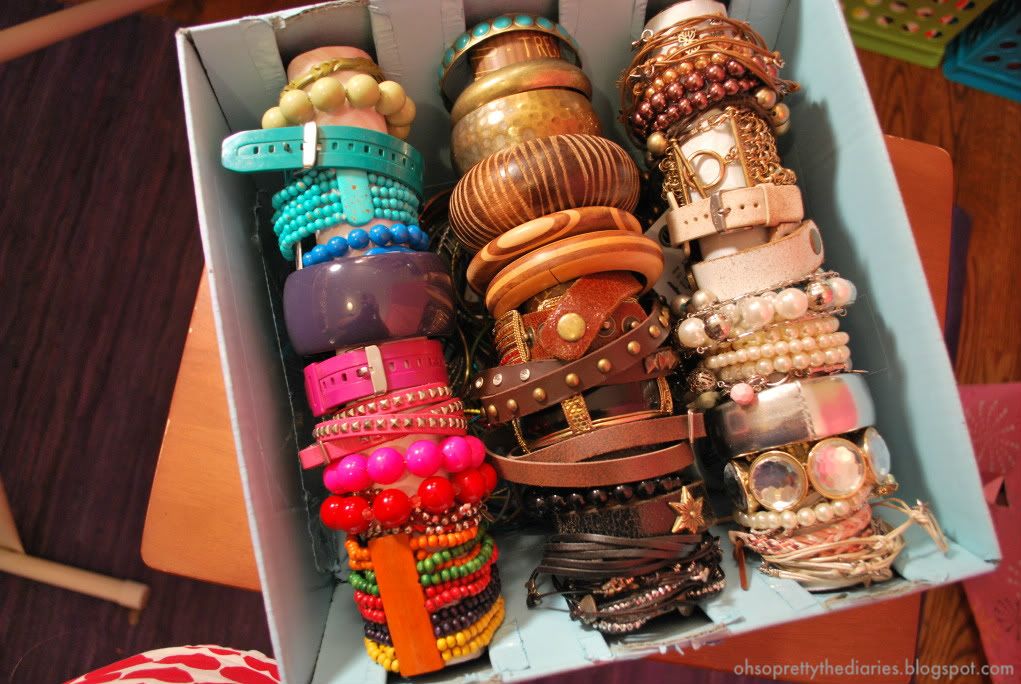
And this is the box all organized!

Photobucket
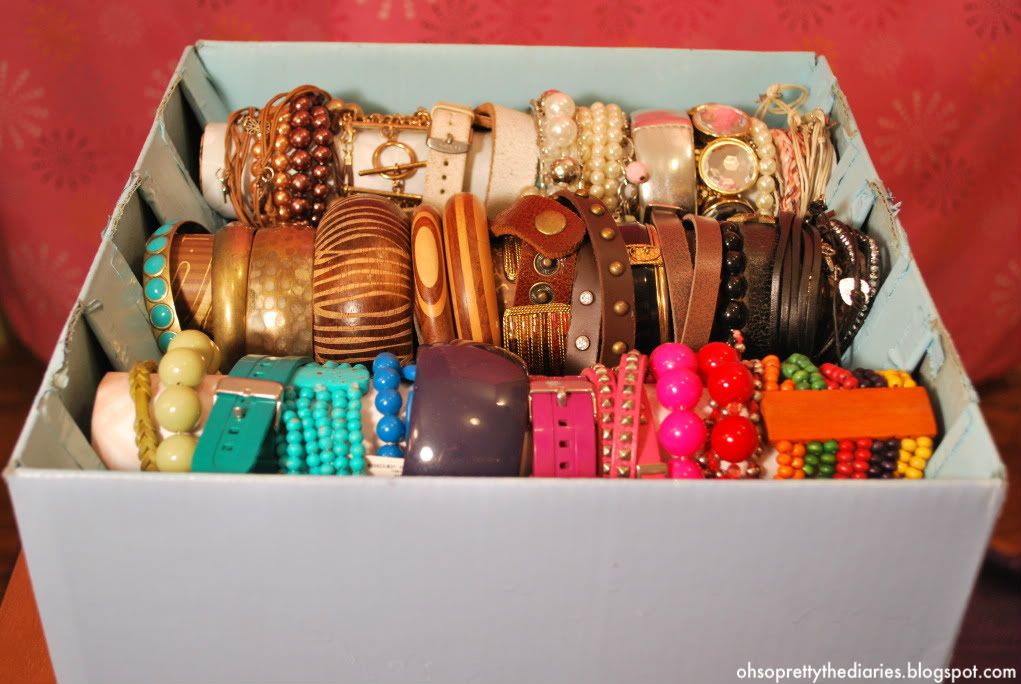
Looks way better than the situation I had going on earlier and now I can easily see all- well most- of my bracelets. Easy to see, easy to wear, holla!

If you like this DIY, let others know! Pin It


Wasn't that super cute? I know my bracelet organization is a bit cray-cray. Head over to their blog and leave them some love. Better yet, start following!


Thank Youuuu

Bonnie over at Living a Wonderful Life left me an exciting comment the other day...


She awarded me and one of her other "followers" the Favorite Follower Award! Isn't that so nice?

Now the rules state that you must award only TWO: that's so hard! You all are awesome and I read each and every comment I receive, multiple times! But if I HAVE TO pick two, I choose:

Brittany @ Fun with the Fullwoods: She is so friendly and leaves the sweetest comments! Her blog is full of delicious recipes (like these Snicker Surprise Cookies, oh my word) and wonderful stories/photos of life with her hubby! She lives in the Houston area, so she is a fellow Texan (woot!) and she is a wonderful blog-world friend!

Faith @ Life.Love&Marriage: Like Brittany, she too is so nice with her comments! She blogs about life with her hubby (like this date night they went on together, so fun!) as well, which I can definitely relate to! Again, a wonderful blog-world friend!

Go check out these two ladies and their blogs, tell them hello!