This week for Make it Monday, I was inspired by this pin I found via Pinterest and Then She Made.
I chose to complete the word "FALL" because a)I could leave it up for longer (through Thanksgiving) and b)my nearest Hobby Lobby (1 hour away) was all out of B's and only had one O...
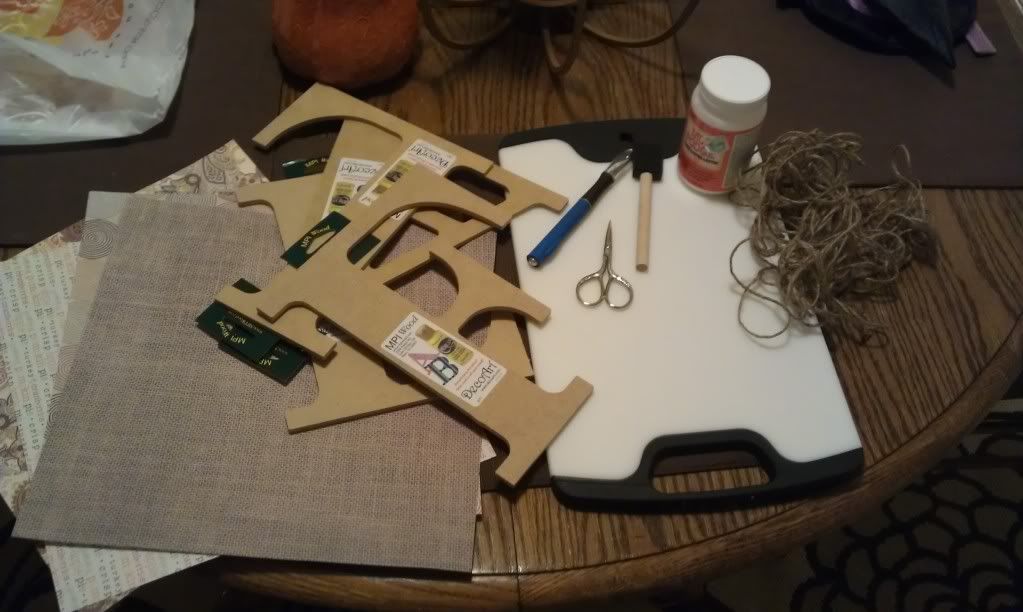
So, to begin! Supplies:
Holiday themed scrapbook paper, wooden letters (which were 50% off at HobLob this weekend, yes!), Exacto knife, scissors, Mod Podge, foam brush, jute, sand paper (not pictured) and a cutting board: preferably from your kitchen :)
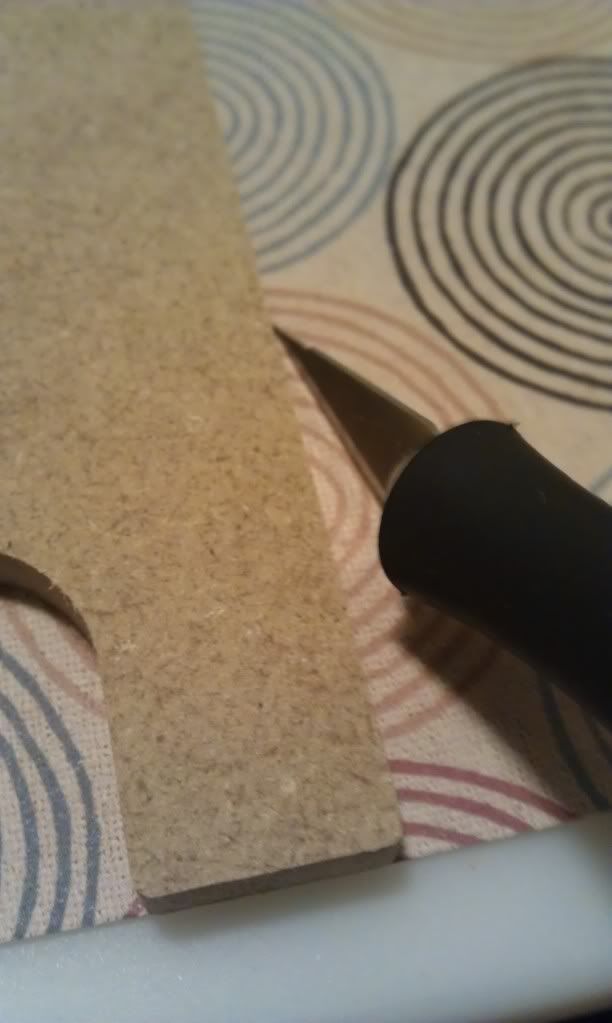
First, lay your paper down and your letter on top (paper: pretty side up, letter: correct direction). Use your Exacto knife to cut the paper into the shape of your letter.
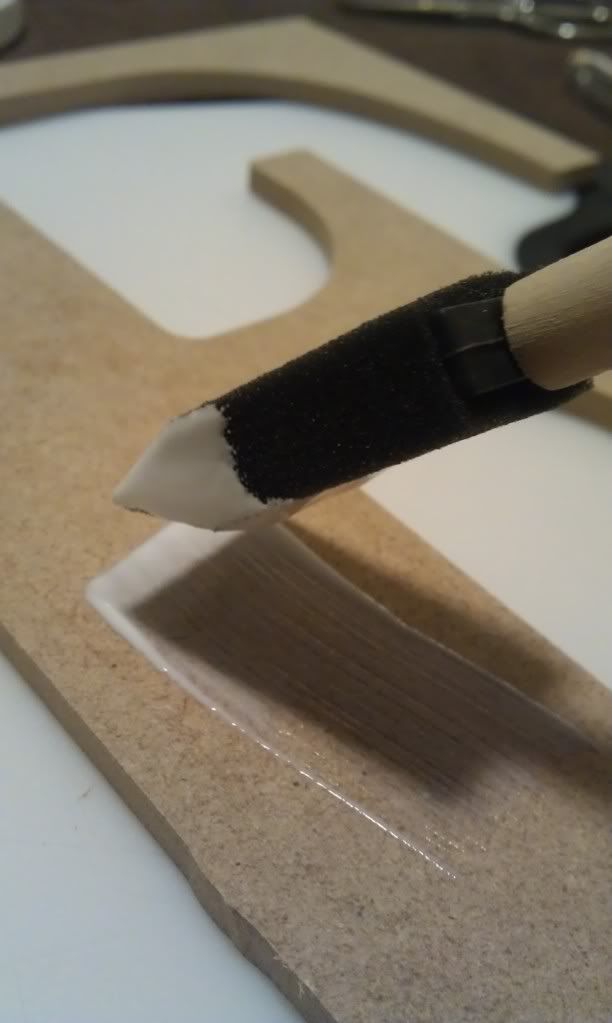
Apply a thin coat of Mod Podge to the wood and lay your paper on top.
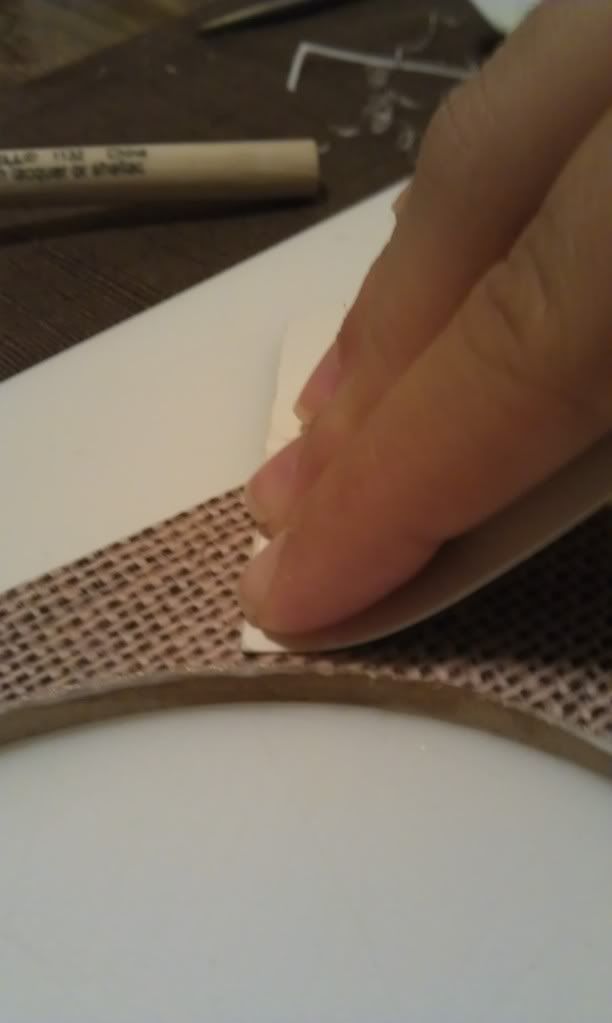
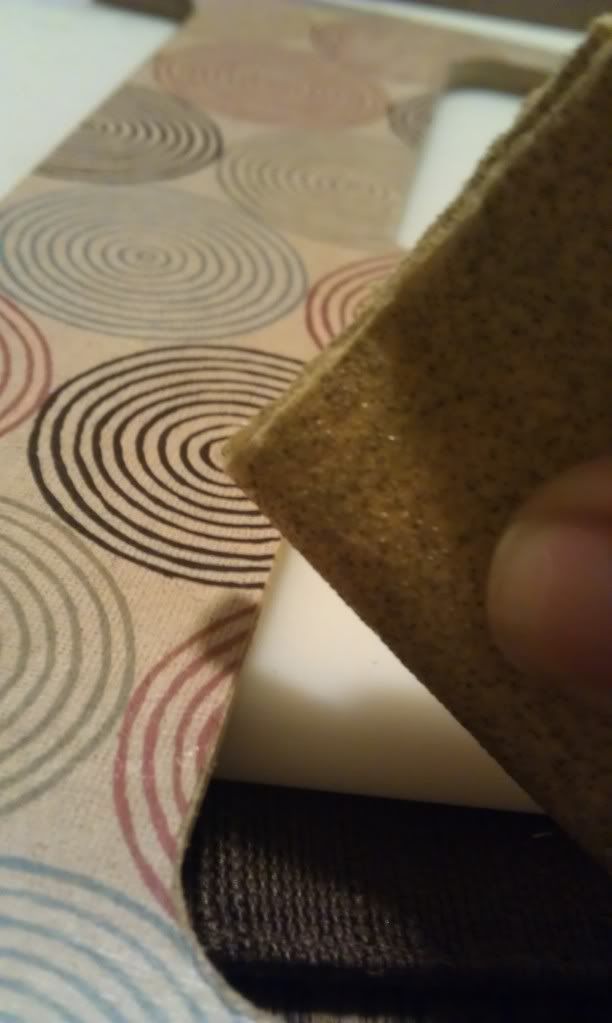
After laying the scrapbook paper down, flip your letter over and look for extra paper showing past the letter. I used my Exacto knife to trim this excess... I also used sand paper to distress the edges a wee bit, but I have slight OCD, so I do both :)
Flip the letter back over to the front, apply a coat of Mod Podge, and smooth out alllllll the bubbles with a piece of cardboard. Your hands will get a bit sticky, but that is a-okay.
Sand those edges! As much or as little as you'd like.
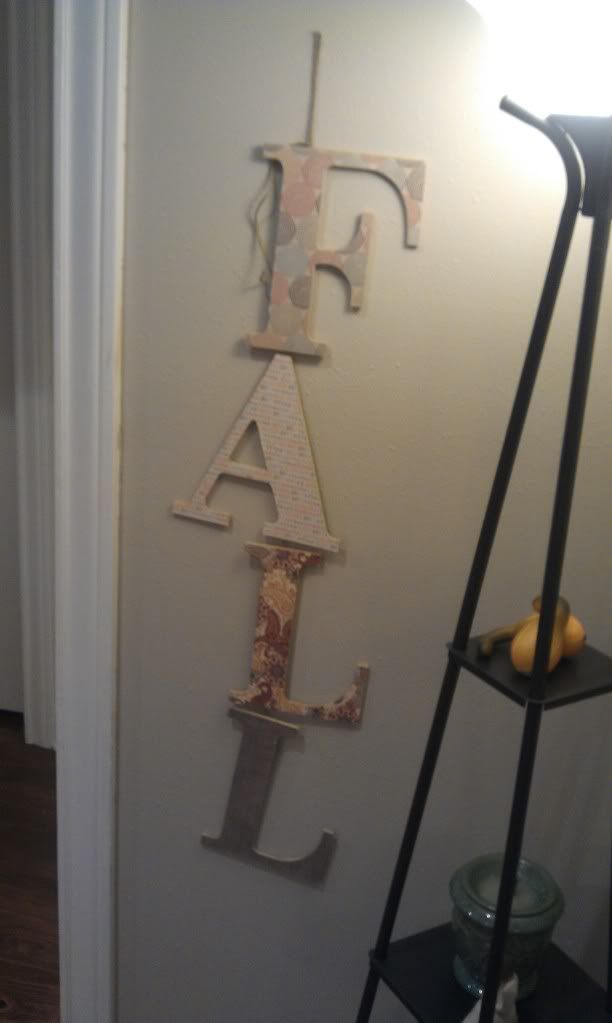
Okay, here is the tricky part. On my inspiration photo, the B-O-O all have center openings, which makes it easy to loop each letter together for hanging... Um, F-A-L-L does not have that luxury... So I had to get a bit inventive, so I adhered jute to the back of each letter and made it hang. It could have also leaned on a shelf, or I could've put four nails into the wall and hung each letter (but Nate wasn't quite on board with that idea...) Here is the final product!
I didn't add any little fall trinkets, but you totally could have! Ta-da! A little crooked hanging, but gives it... flair? No? Oh well, my house :) Stay tuned for a Christmas-y version featuring the word J-O-Y!


No comments:
Post a Comment
I read each and every comment: thank you for leaving some love!