I am SO SO SO SO SO excited with this project! One of the cutest things I've ever made and it all started with an idea from Amy at Postiviely Splendid: (of course, I found it on Pinterest!)
To begin, I gathered my materials:
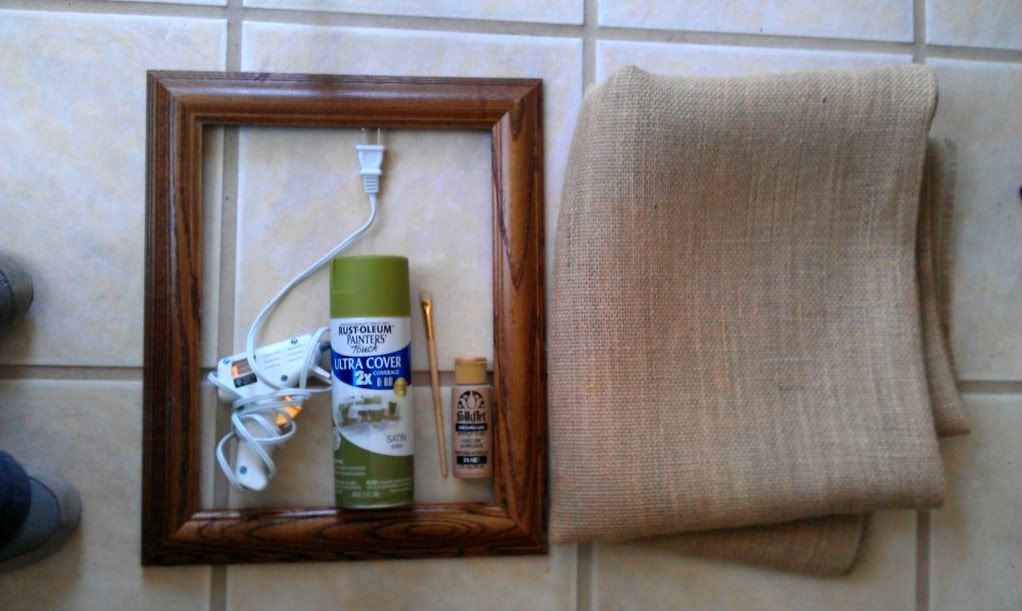
-Old frame
-Spray paint in desired color
-Hot glue and glue sticks
-Burlap
-Paint and paintbrush
(Not pictured:)
-Sandpaper
-Scissors
-Other fun fabric for a flower embellishment
-Nails (two)
-Hammer
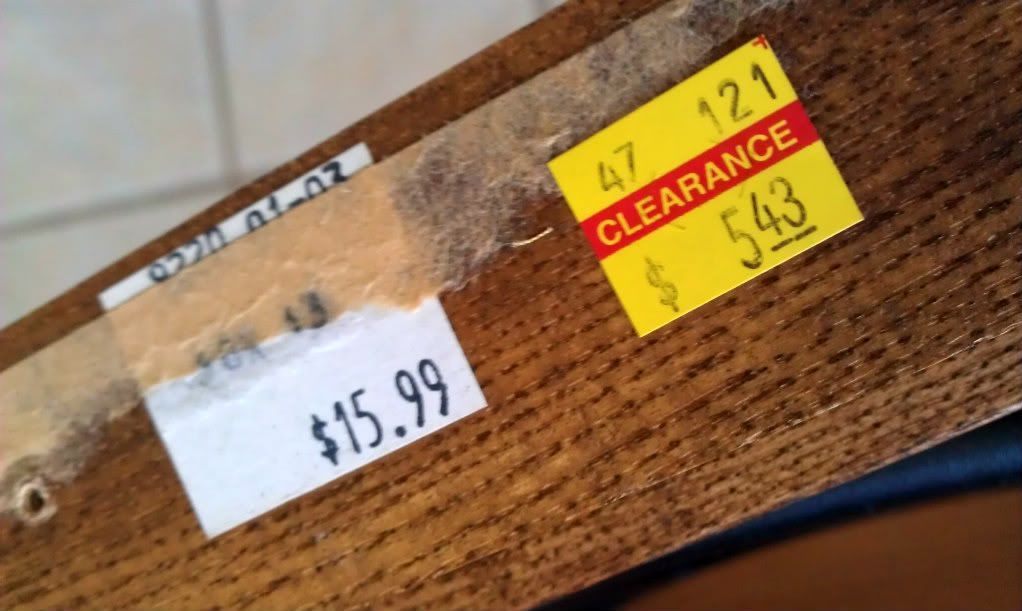
First, I bought my frame at Hobby Lobby... yeppp, on clearance!
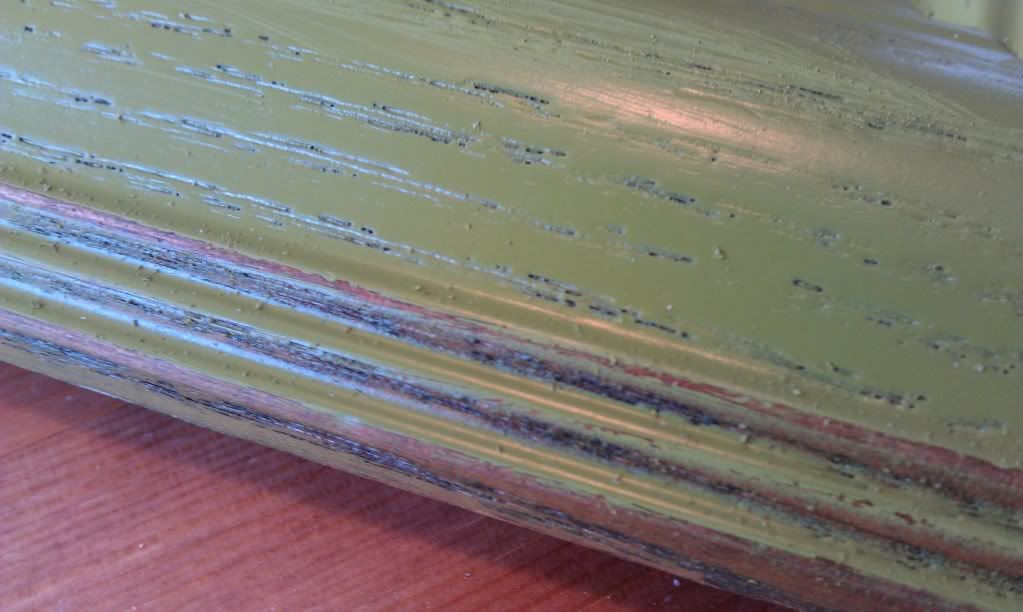
I picked green spray paint for my frame and I purchased this from Home Depot. I went outside, of course, to spray paint. I didn't pay too much attention to the edges since I knew I wanted to distress the edges a bit.

As soon as it dried, I used sandpaper to distress the edges.
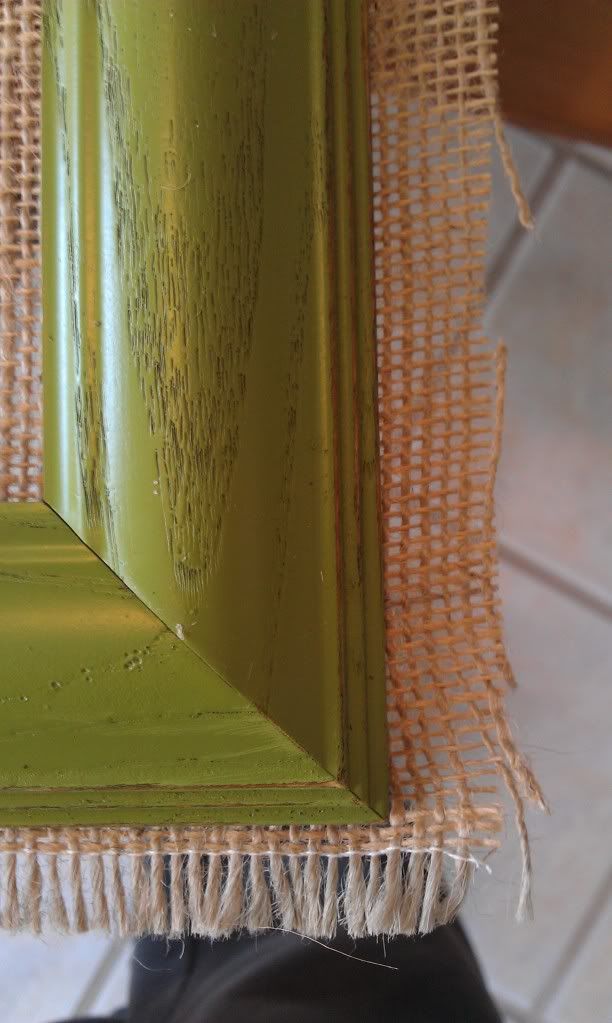
Next, I cut my burlap to fit my frame. I left about a 1/2 of an inch hanging past the frame because I knew I wanted to pull the edges tight when I hot glued it down.

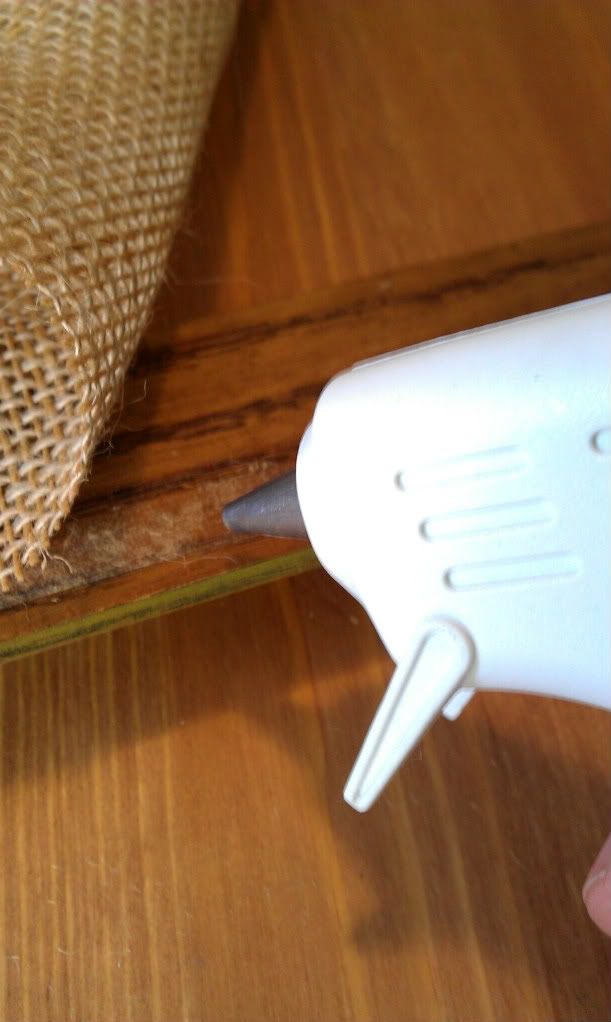
As soon as your piece is cut, time to add hot glue to the edges! A little bit at a time and pull tightly as you go around the frame.
When you are done, you should have a bit overhanging from the frame. Get some scissors, flip the frame over, and cut the excess off.

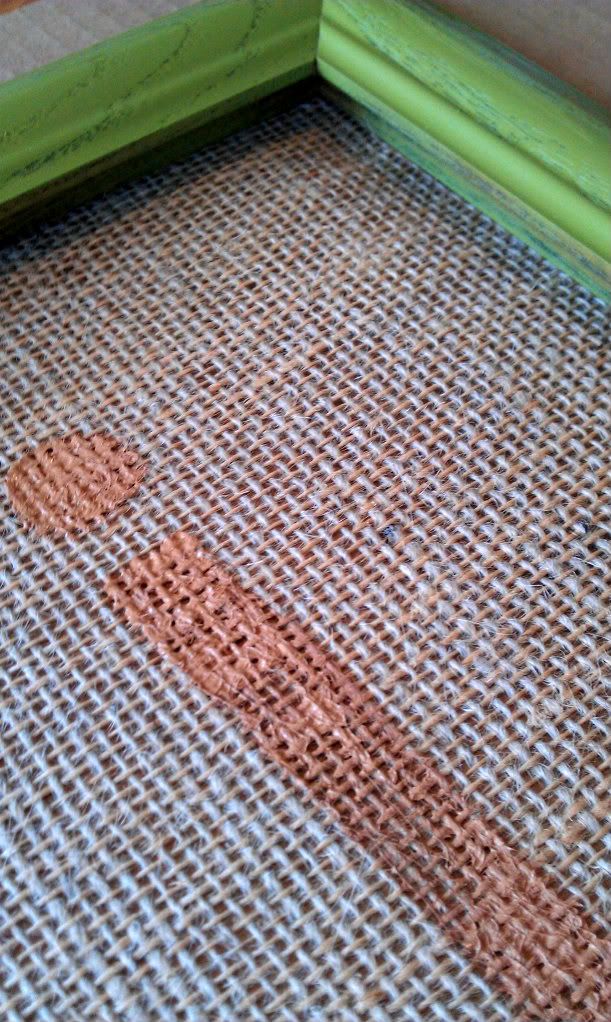
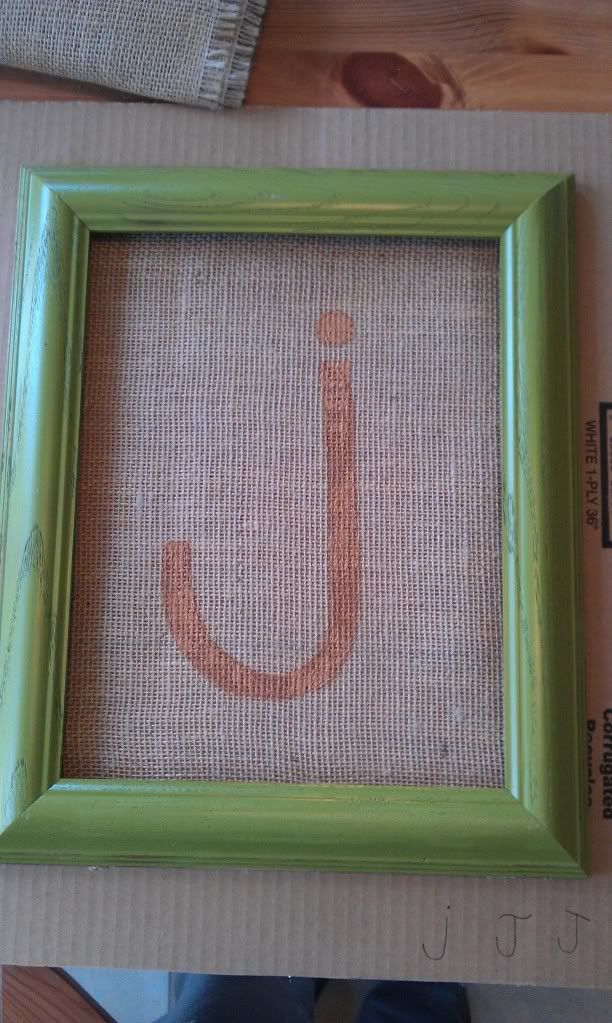
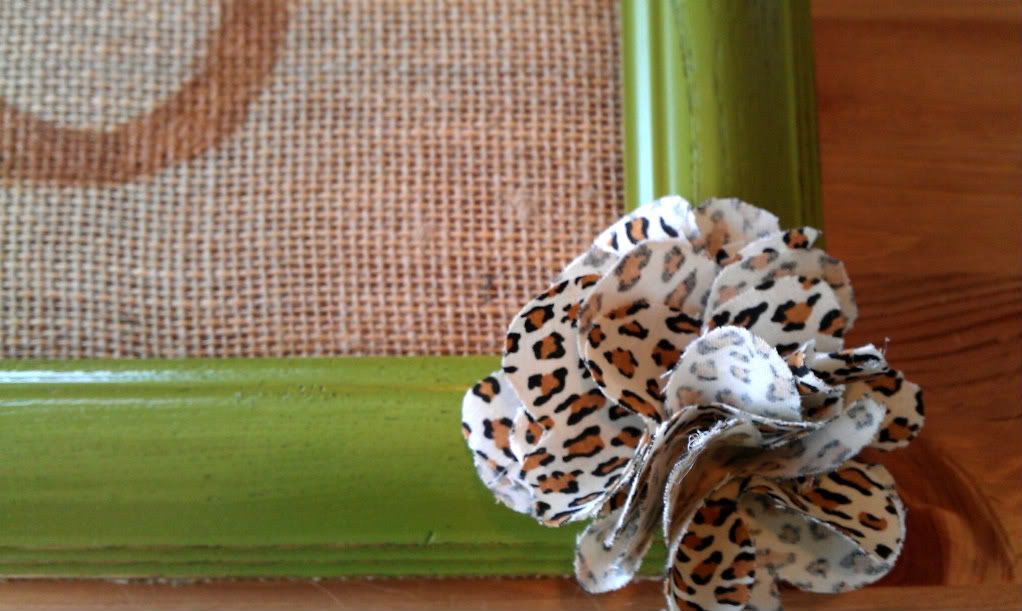
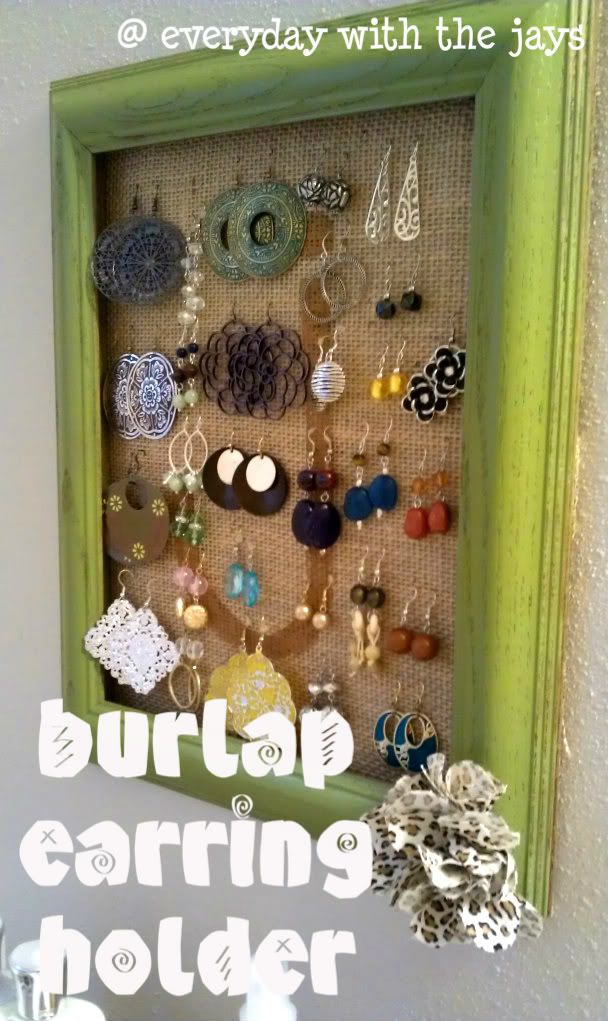
Now you COULD leave it with plain burlap, but Amy used a monogram, so of course I am too (anything with my name or the letter "J" on it is a winner in my book). Amy created a stencil for hers, but I'm lazy... so I just freehanded a lowercase "j". I used brown paint because there is no black in our bathroom (where this will be hanging) and I wanted it to sort of blend in with the burlap. I painted on top of a piece of cardboard (you are working with a fabric that has lots of teeny tiny holes in it... be careful!).
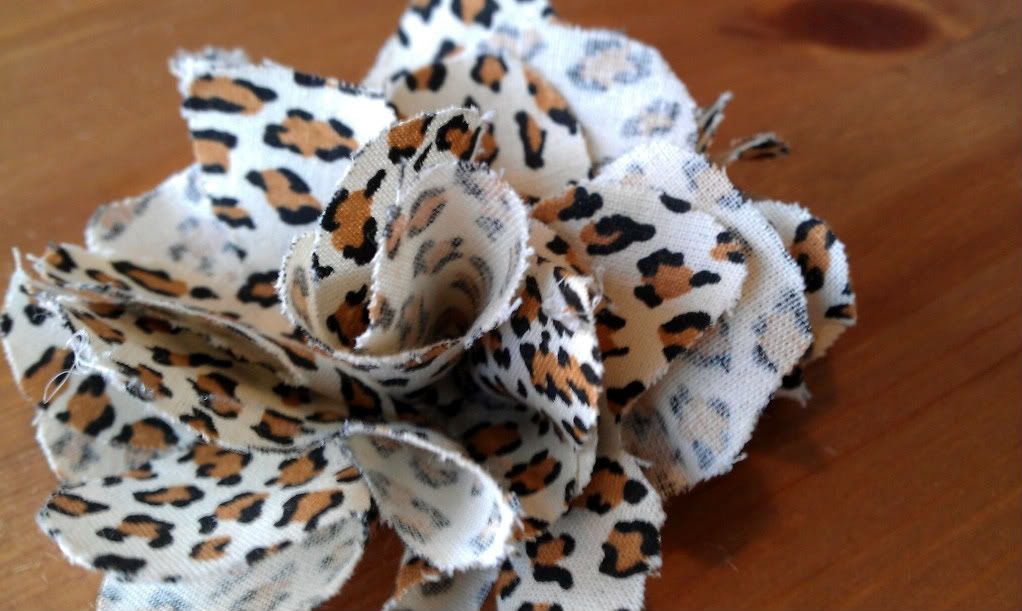
Now you COULD leave it like this, but that's no fun! I had this leopard print flower embellishment that I made foreverrr and a day ago (there are about a zillion tutorials on how to make these), but I wasn't sure on where to use it. I finally got to use it today! Hot glued it to the corner and it's ready to go!
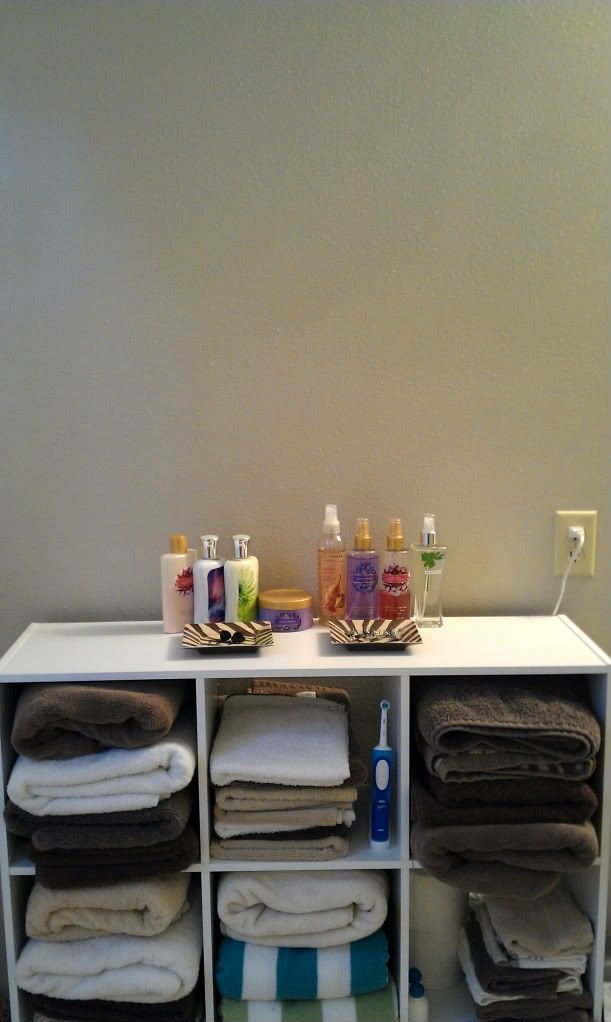
Now, here is our bathroom space before... empty wall space, blah blah.
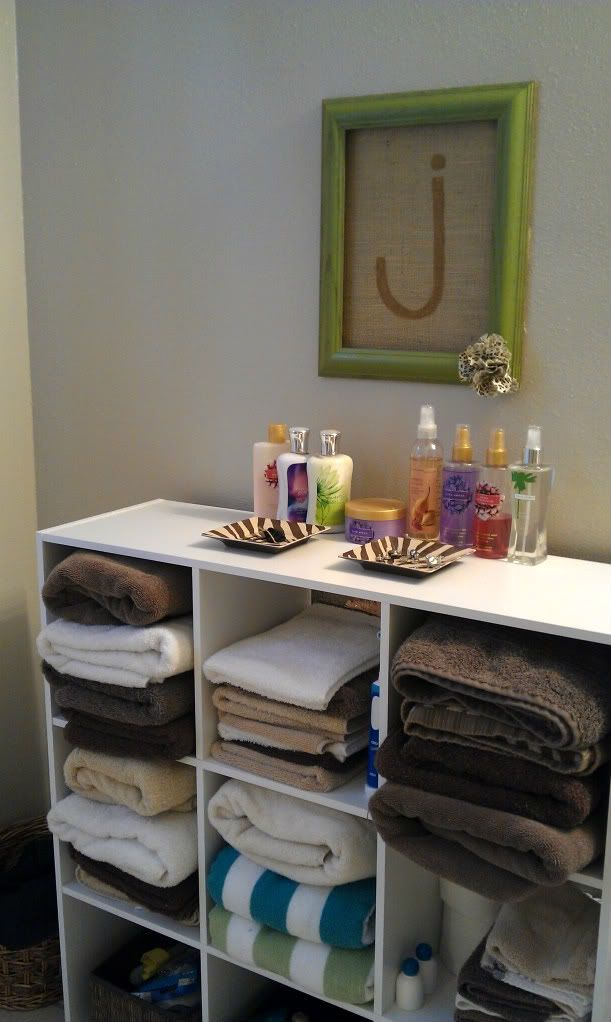
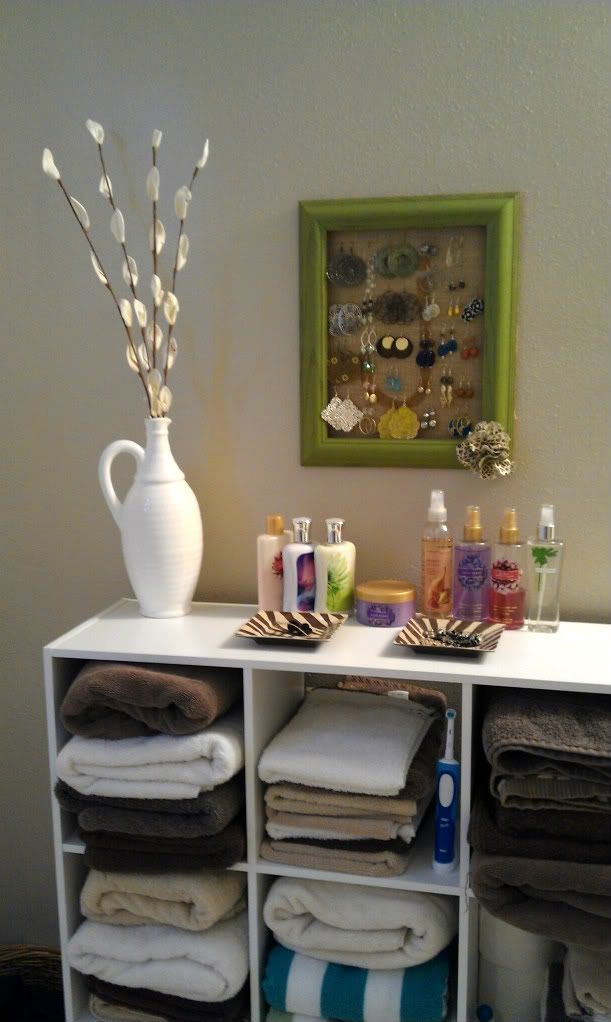
Now, look at it with the gorgeous earring hanger! Use hammer and nails to attach to the wall. (Since this is against the wall, depending on your earring, you may have to tilt it forward to hang them up... just depends on its style)!

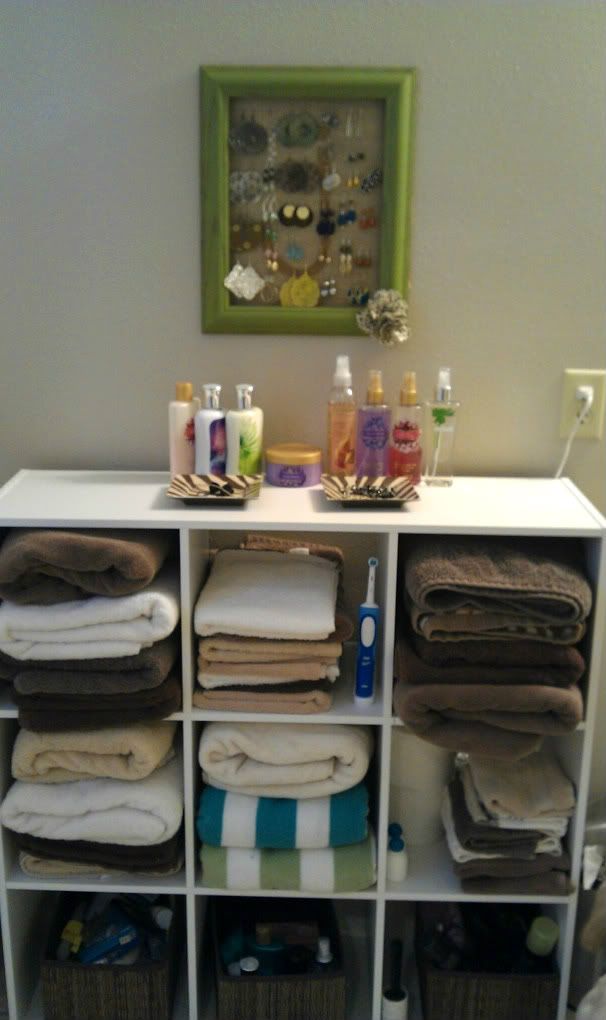
NOW look at it with earrings! Adds such "oomph". And I like to think of jewelry as art... no? Okay...
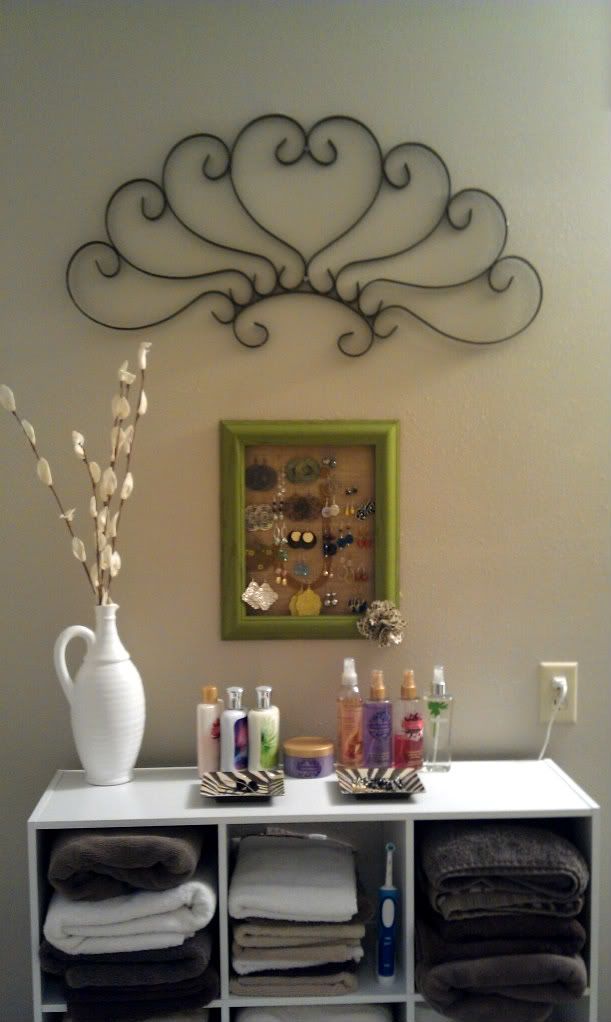
And I added this piece of wrought iron art that I've had sitting in my closet for about 9 months...
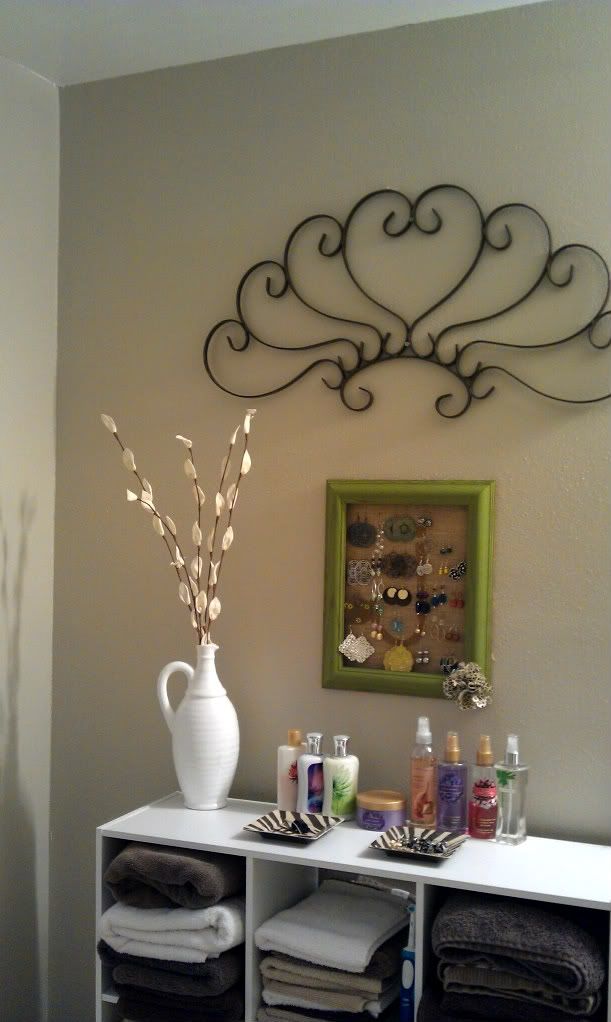
Hooray for updated spaces!
(Blogger New Year's Resolution: add text to project pictures for Pinterest pins!)
Linking up to the Before & After Party @ Thrifty Decor Chick!


Ooooooobsessed! Thank heavens for the Michaels by our house so I can make one of these this week. Cute AND practical...best of both worlds. You totally transformed that space in your bathroom...it looks fabulous Chrissy! Great job!
ReplyDeleteLOVE it!! I want one! : )
ReplyDeleteCute! I pinned this from you and TOTALLY want to do this! Happy New Year, friend!
ReplyDeleteThis turned out fabulous! So glad you enjoyed this tutorial!
ReplyDeleteomg, LOVE! so cute and brilliant! i want to do something like this :)
ReplyDelete