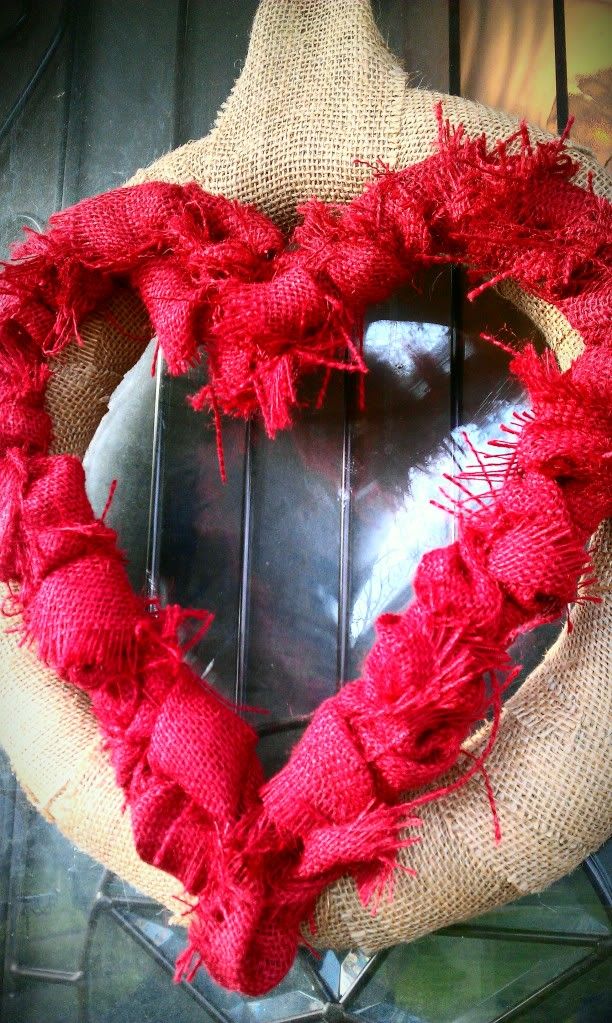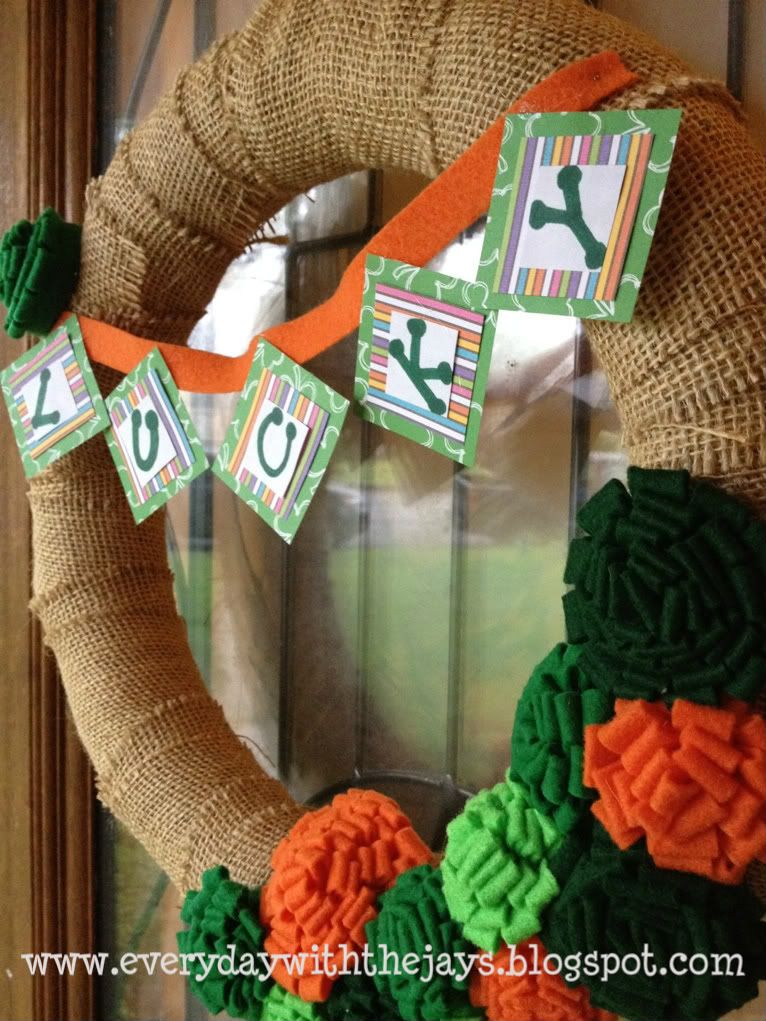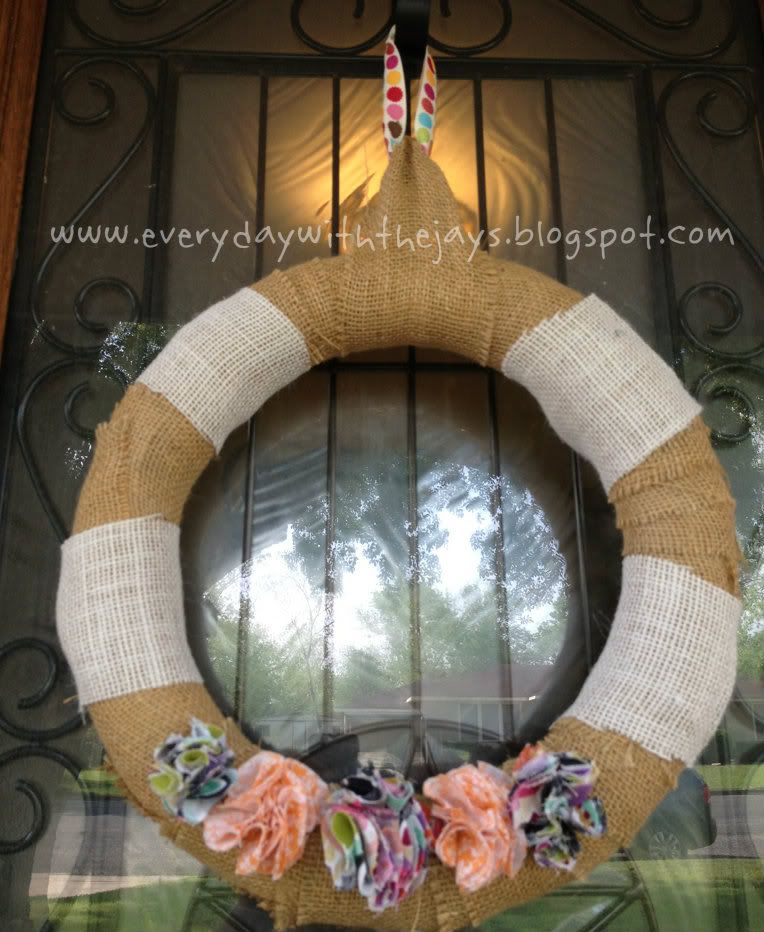
First, a recap of previous month's wreaths: remember, I use the same burlap-covered foam wreath and add various adornments (except May/June's fabric scrap wreath). So easy and cheaper that way! Click on the picture to head to its specific post.
Alrighty! This month's wreath came from an inspiration post I saw at Sassy Style. She made paper cones and attached them to a wreath form. She used two different sizes of paper for hers and filled the outside and inside with cones. Here is my altered version!
First, I cleared off my burlap wreath (and I left the tulle hanger from last month).
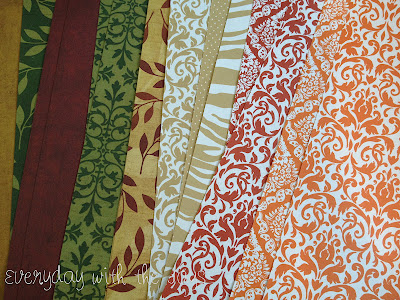
I picked out fall themed scrapbook paper, which if you follow me on Instagram (chrissydj), you would have already seen this!
Next, I made paper cones out of each scrap of paper. The lengths are 12x6 for each sheet.
I used my favorite craft tool ever, straight pins, to attach each cone to the foam wreath form.
Here's an easy way to make a cone. Make your two bottom corners touch, almost like a triangle and roll it up!
Here's what it looked like when it was all done. Being the teacher that I am, I had to make a stack of papers in a pattern rotation. Yep, that's OCD me. Now, I had every intention of leaving it like this...
Until I flipped it over!!! Look how gorgeous it is! Almost looks like a turkey's tail feathers... which is fitting for the fall season.
Close up shot of each cone...
I hung it up on a door hinge in my craft room to take a look at it, and I just thought it needed something...
Luckily, I had a "J" laying around from a Christmas project last year that I never completed. I used an Exacto knife to cut out the paper to fit the "J" exactly.
Ta-da! I used Mod Podge to adhere the paper to the wooden letter.
(And I trimmed off excess with the Exacto knife by flipping the "J" over)
So pretty! I like how you can see the white on all of the cones to give some continuity to the pattern. Connects it all together while still being different and fall-y!
I think this may be my new favorite! You can see the folds/edges of the paper cones but it's all good to me.
Close-ups.
Beautiful!
There you have it. Another wreath for f-r-e-e using what I had on hand!
Happy Tuesday (and sorry for the late post: we attended the high school volleyball game tonight)! Good times with the hubs and a friend.
See where I link up: Monday Made it @ 4th Grade Frolics, Blog Hop @ Naptime Review, Tips & Tricks @ Stringtown Home, What I Whipped Up Wednesday @ Sugar and Dots, Craft-O-Manic Monday @ Craft-O-Manic, Link Party @ Uncommon, Whatever Goes Wednesday @ Someday Crafts, Show Me What Ya Got Linky Party @ Not JUST A Housewife, {Wow Me Wednesday} @ Ginger Snap Crafts, Link Party @ Destination: Craft, The Creative Spark @ Clean & Scentsible, Before & After Party @ Thrifty Decor Chick, Weekend Wrap-Up Party @ Tatertots and Jello, What I Wore Wednesday @ The Pleated Poppy
"Up from the grave He arose, with a mighty triumph 'or His foes. He arose a victor from the dark domain and He lives forever with His saints to reign! He arose! He arose! Hallelujah, Christ arose!"


I think this is one of my favorites! I love it! and love your door too!
ReplyDeleteCute! I always love seeing how you change out your wreaths. Even better that you make them for practically nothing! I love all the fall patterns in this one. :)
ReplyDeleteTurned out great!
ReplyDeleteThis is amazing, Chrissy!! I've never seen a wreath like this....you are SO creative! It's the perfect touch of fall for your door...definitely think I'll be making a trip to Michaels for some pretty autumn scrapbook paper :). I think the J is the perfect touch, too. Just love it!
ReplyDeleteLoving this wreath and all of the materials you used for it! It just screams fall and I love it:)
ReplyDelete