It's April and it was time to update my burlap foam wreath!
Walk down memory lane...
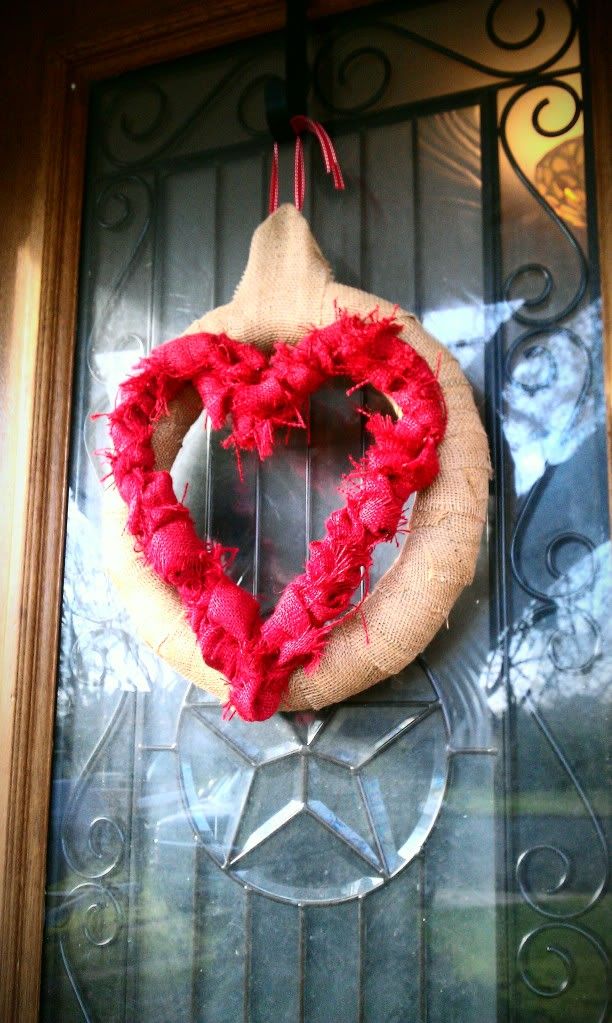
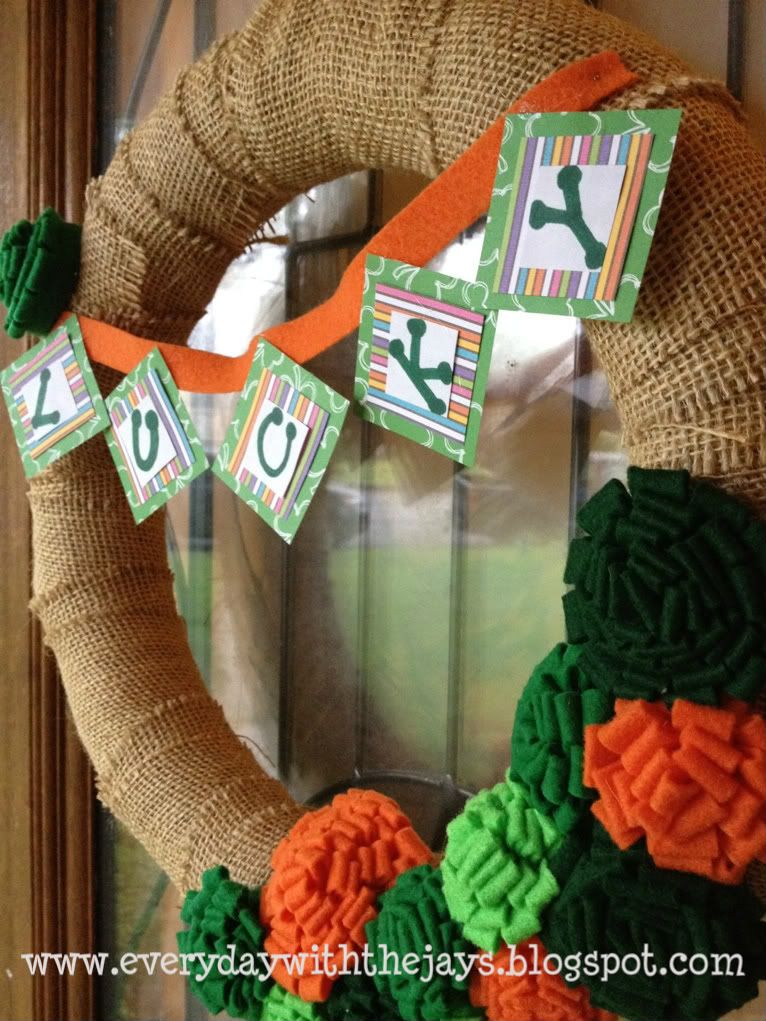
February and March...
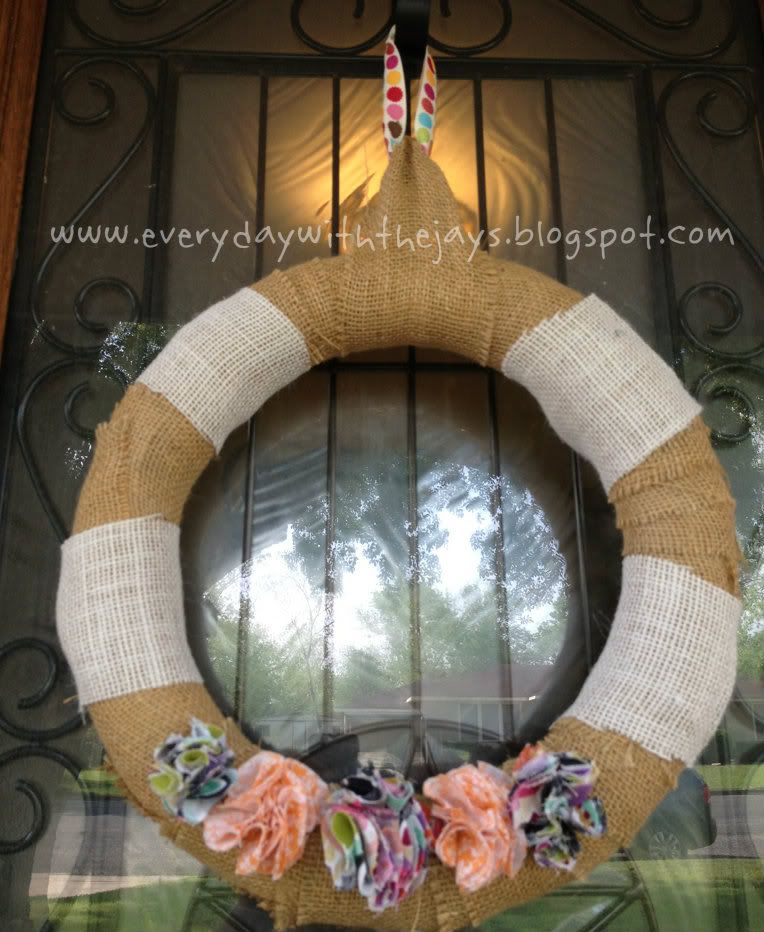
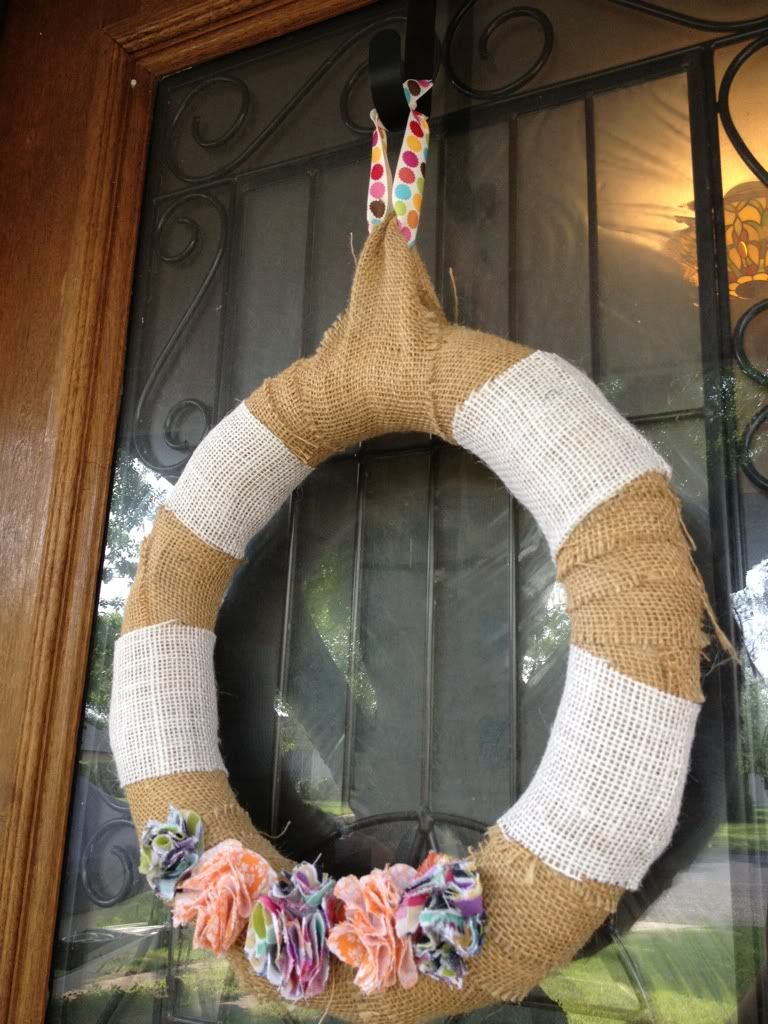
And now we have April!
Here's what I did:
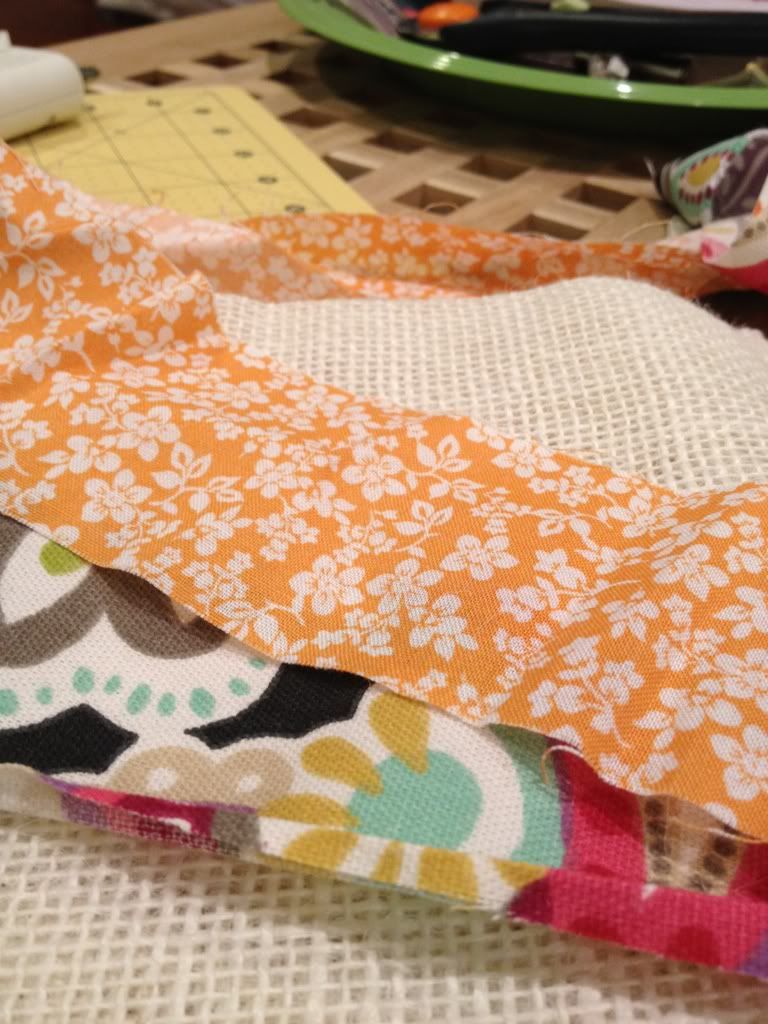
First, pick out fun/springy fabric. As you can see, I used scraps from my new throw pillows!
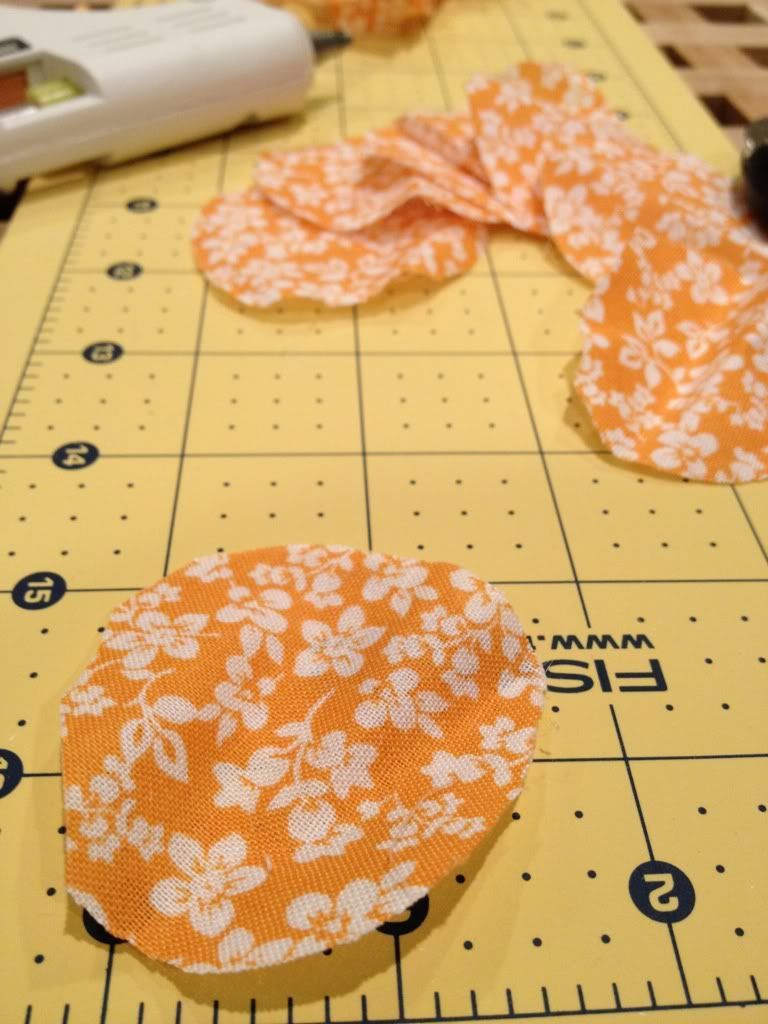
Next, cut your fabric into circles. One circle will be the base of your rosette/flower thangs, and the rest of the circles will be formed into petals.
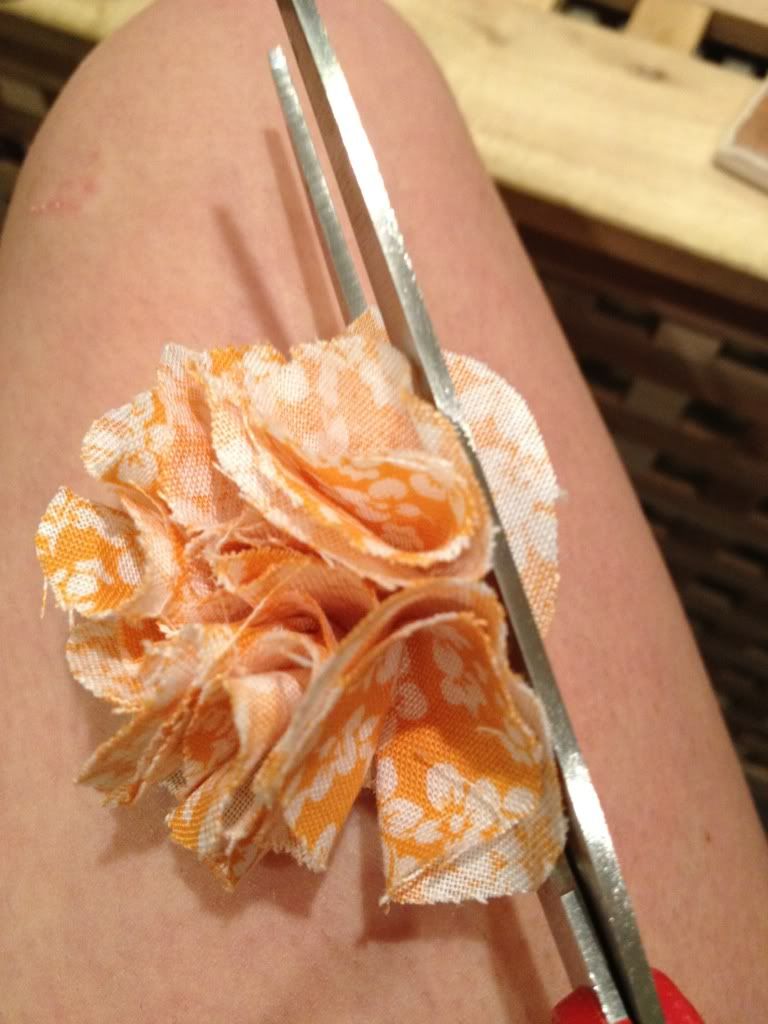
One by one, pick up a circle and fold it in half... [please ignore my paste-y legs in the following pictures: I am awaiting lawn furniture so I can work on my tan!]
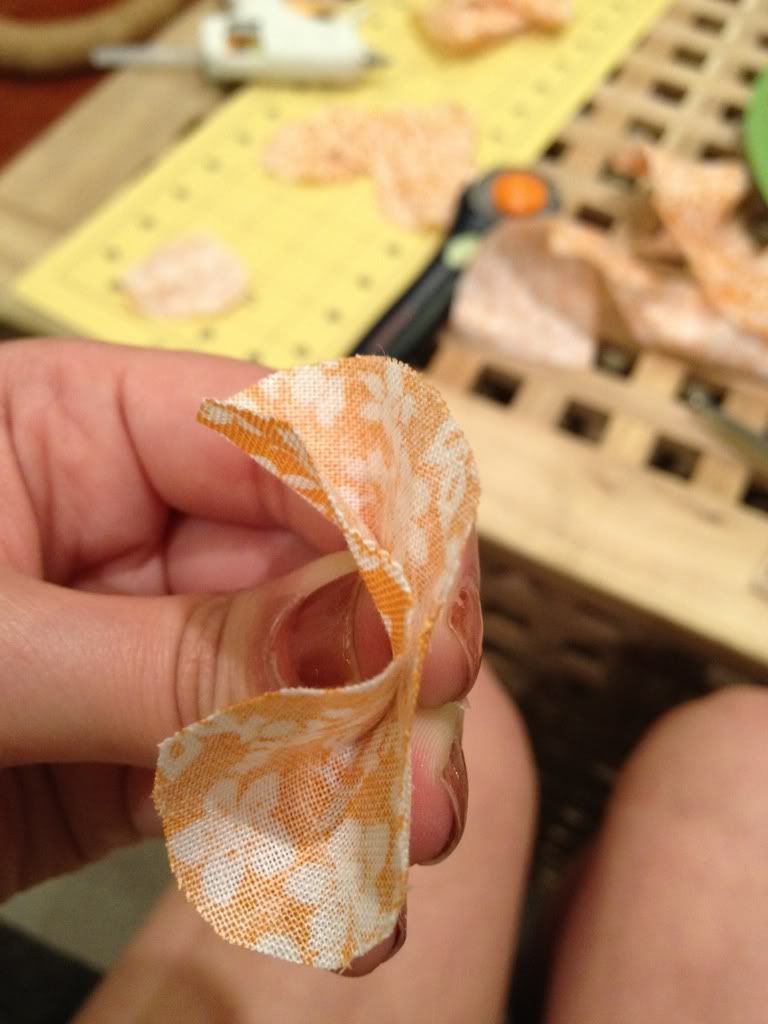
Now fold that half... in half... again :)
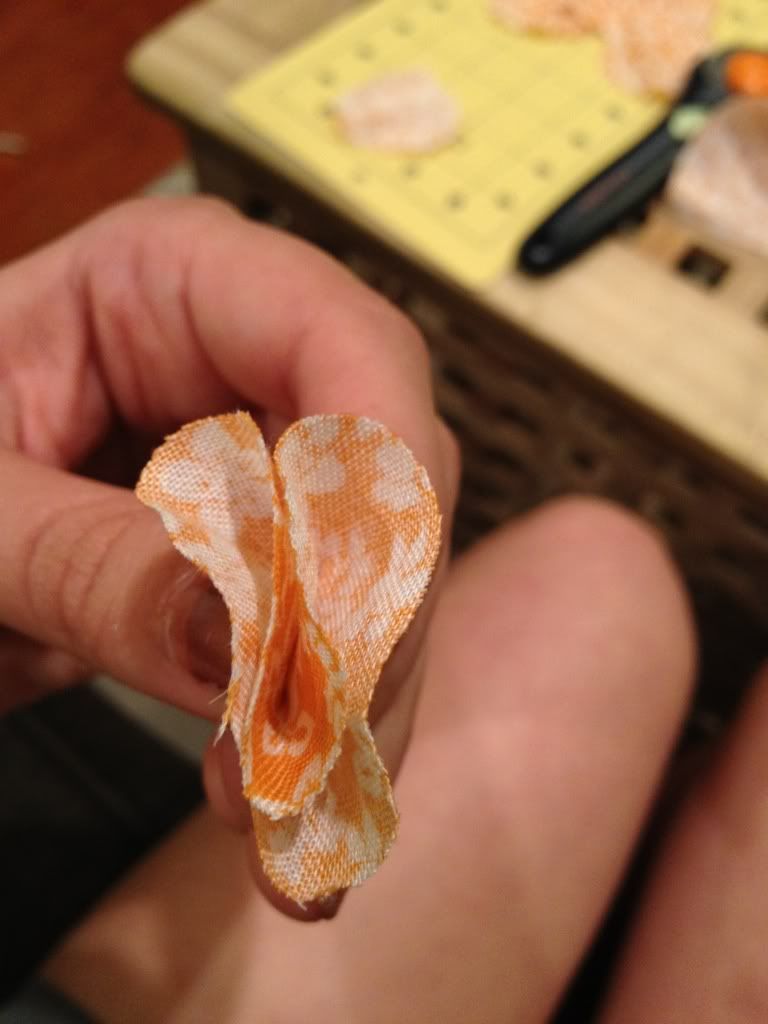
Now put a glob of hot glue in the middle of one of your unused circles and place your "petal" on. As you continue this process, you'll have to re-adjust and possibly re-glue. Just fiddle with it!

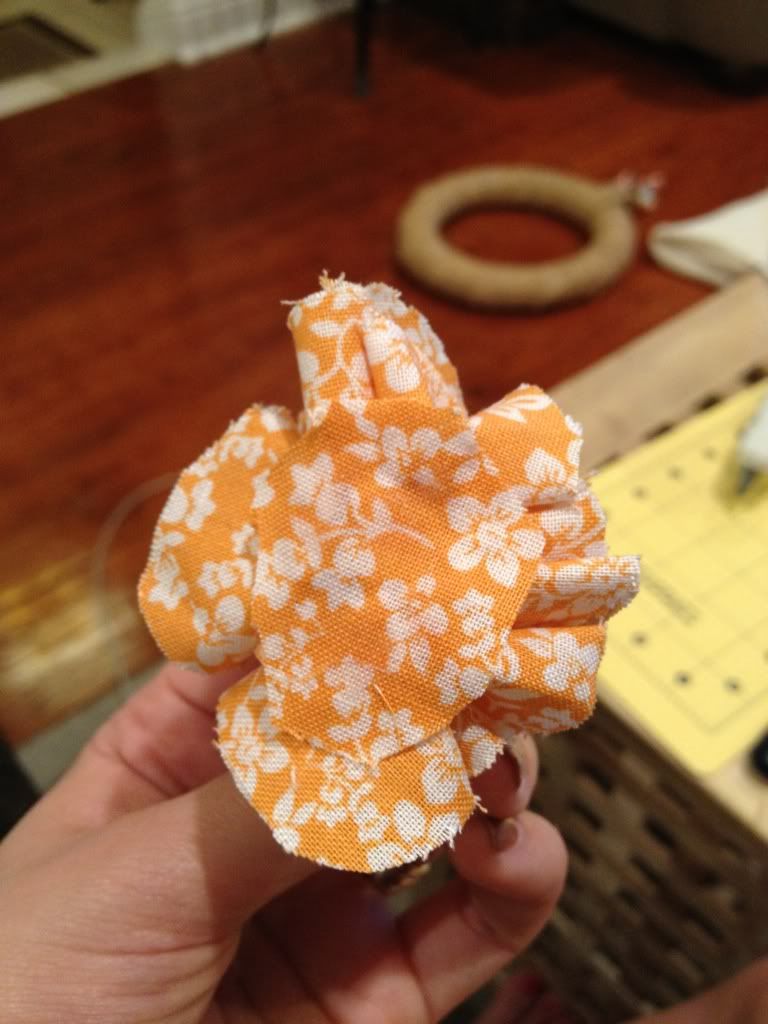
Continue process of gluing petals all around until you're satisfied...

And trim off the excess from the back circle.
Business in the back... Party in the front!

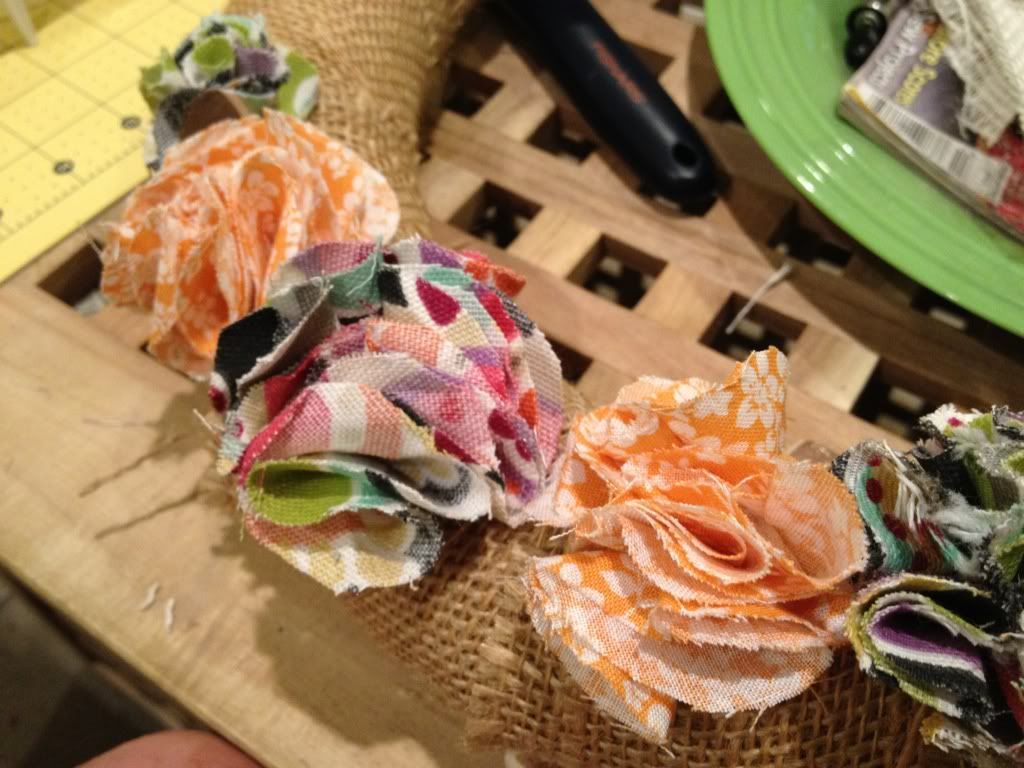
Make more cute-y flowers in your fabrics!

Use those amazing straight pins to put the flowers in your foam wreath (already covered in brown burlap... see previous wreaths above).
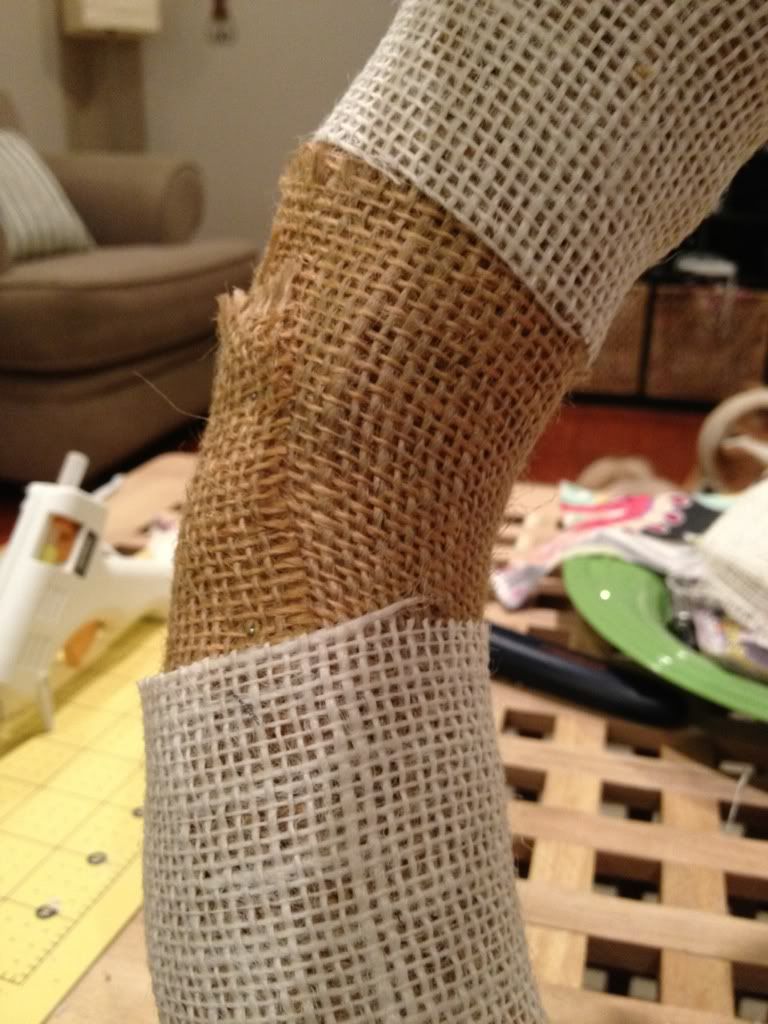
I used strips of white burlap to wrap various sections of the wreath... just to give it pattern and movement, yet to make it simple and subtle.
Ta da! Simple, sweet, and springy! And you can see my April ribbon, which holds the wreath on the hanger, as well: it is leftover ribbon from my classroom decor!
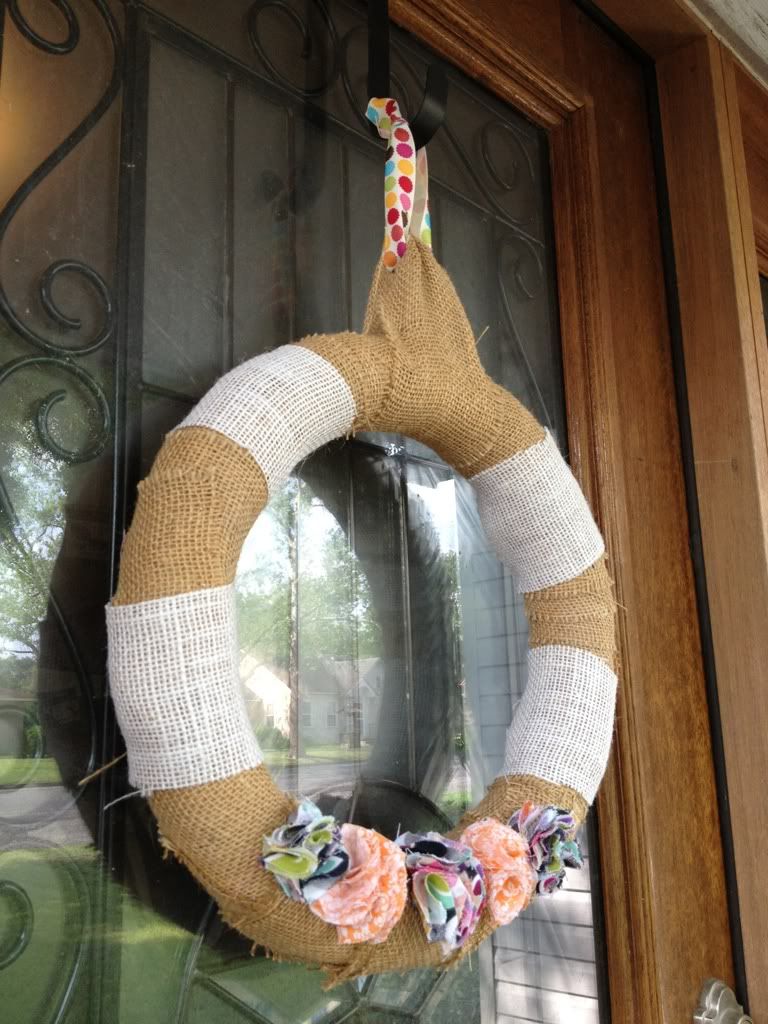

*And yes, that's my reflection... I'm wearing a T-shirt and athletic shorts... That's how this Kindergarten teacher does it after a long day!
See where I link up: Craft-O-Manic Monday @ Craft-O-Manic, Link Party @ Uncommon, Whatever Goes Wednesday @ Someday Crafts, Show Me What Ya Got Linky Party @ Not JUST A Housewife, {Wow Me Wednesday} @ Ginger Snap Crafts, Link Party @ Destination: Craft, The Creative Spark @ Clean & Scentsible, Before & After Party @ Thrifty Decor Chick, Weekend Wrap-Up Party @ Tatertots and Jello, What I Wore Wednesday @ The Pleated Poppy


LOVE it!! I love the colors you picked too!
ReplyDeleteThat is sooo cute how you use the same wreath for every holiday but add new accents! SO much easier then creating a new wreath for every holiday. I love the Spring one! So cute!
ReplyDeleteseriously, can i become half as talented as you are!? i don't want to be jealous but i kinda am, hehe. i wish i could do this!
ReplyDeletesuch a beautiful wreath, love it!
So cute! I love the white stripes!
ReplyDeleteSO CUTE! LOVE IT! Make me one and send it to Dallas?? :)
ReplyDeleteThose flowers are super cute! Thanks for the tutorial:) It's great that you can reuse your wreath!!!
ReplyDeleteDarling! I recently made an interchangeable wreath too, aren't they fun? I love what you did with the burlap stripes! And the flowers are so cute! I found you through Someday Crafts. Thanks for sharing!
ReplyDeleteI love that you are using your wreath over & over. Very economical. Thanks for sharing this at the Cutesy Monday link party!
ReplyDeleteKathryn
destinationcraft.blogspot.com
looks great!! the added stripes are so unique and I love the fabric flowers!! thank you for sharing at Uncommon!
ReplyDeletebonnie @ uncommon